
To save your next brew, master the basics of latte art pouring. Start by frothing your milk to a fine microfoam for a silky texture. Angle the pitcher at about 30 degrees and maintain a steady flow while focusing on the cup’s center. Avoid common mistakes like overheating milk and using inconsistent pouring techniques. Remember, practice makes perfect. Stick around, and you’ll discover tips on choosing the right pitcher and enhancing your skills further.
Key Takeaways
- Master milk frothing to achieve fine microfoam for cleaner and more defined latte art designs.
- Pour at a 30-degree angle, adjusting for foam thickness and maintaining a steady flow.
- Ensure milk temperature does not exceed 150°F to preserve texture and prevent overheating.
- Practice pouring techniques regularly, starting with simple designs to build confidence and skill.
- Maintain and clean your equipment to ensure consistent quality and longevity of your latte art.
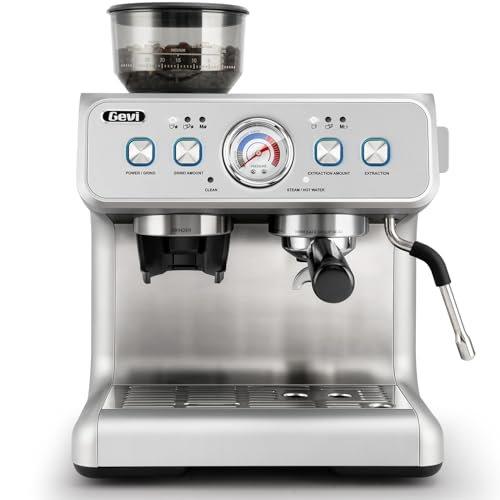
Gevi Dual Boiler Espresso Machine with Built-in Grinder, 58mm Commercial Portafilter, Barista Steam Wand, 31 Grind Settings, Stainless Steel, for Home Barista Use, Sterling Silver
𝐏𝐨𝐰𝐞𝐫𝐟𝐮𝐥 𝐚𝐧𝐝 𝐬𝐭𝐚𝐛𝐥𝐞 𝐏𝐫𝐞𝐬𝐬𝐮𝐫𝐞 𝐒𝐲𝐬𝐭𝐞𝐦 - Gevi espresso machine's high-pressure system expertly manages the flow of water, forcing...
As an affiliate, we earn on qualifying purchases.
Understanding the Basics of Latte Art Pitching

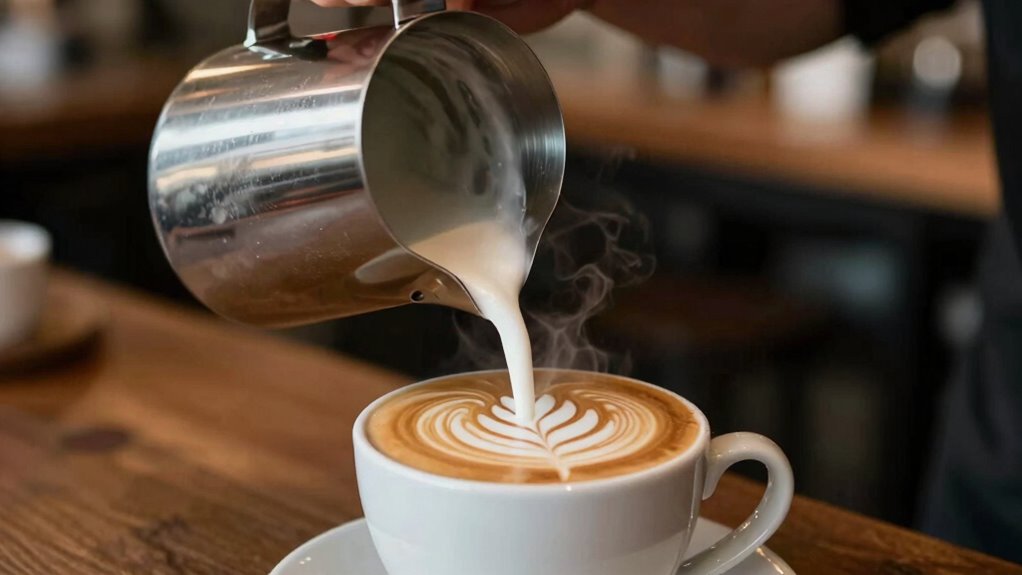
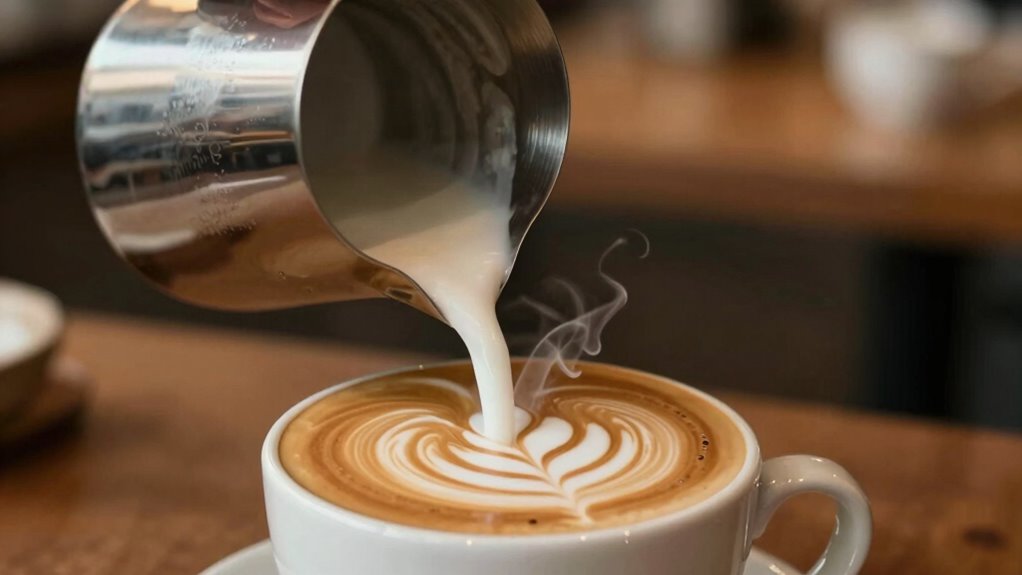
Latte art pitching is an essential skill for any barista looking to elevate their coffee game. To create stunning designs, you need to master the basics of milk frothing and understand how to handle your pitcher. Start by angling your pitcher properly—about 30 degrees is ideal. This angle helps the milk swirl and creates a vortex, which is vital for achieving that velvety texture. As you pour, maintain a steady flow and adjust your pitcher angle to control the thickness of the foam. Focus on the center of your cup first, then gradually move outward to form your design. With practice, you’ll find that mastering these basics sets the foundation for beautiful latte art. Understanding milk frothing techniques will also enhance your ability to create intricate designs.
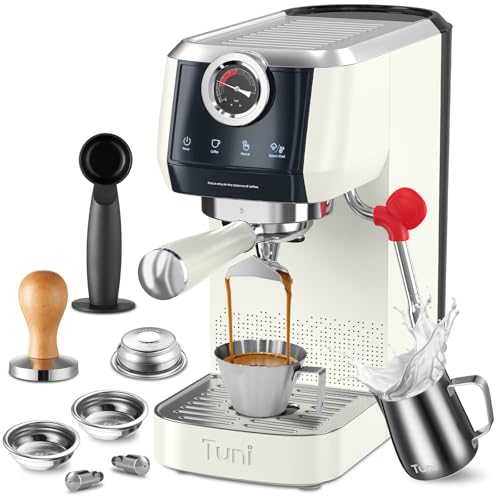
Tuni E2 58mm Espresso Machine - Dual Boiler (Immediate Milk Frothing) | PID NTC Temp Control | 20 Bar ULKA Pump | Stainless Steel Semi-Automatic Coffee Maker | Gift for Coffee Lovers
[Package Includes & Care] - Espresso Machine*1, 𝟐 𝐅𝐢𝐥𝐭𝐞𝐫 𝐁𝐚𝐬𝐤𝐞𝐭𝐬(𝐒𝐢𝐧𝐠𝐥𝐞 𝐖𝐚𝐥𝐥, 𝐍𝐨𝐧-𝐩𝐫𝐞𝐬𝐬𝐮𝐫𝐢𝐳𝐞𝐝), 𝟏 𝐃𝐨𝐮𝐛𝐥𝐞 𝐒𝐡𝐨𝐭 𝐁𝐚𝐬𝐤𝐞𝐭 (𝐃𝐮𝐚𝐥 𝐖𝐚𝐥𝐥,...
As an affiliate, we earn on qualifying purchases.
Why Milk Texture Matters for Great Latte Art
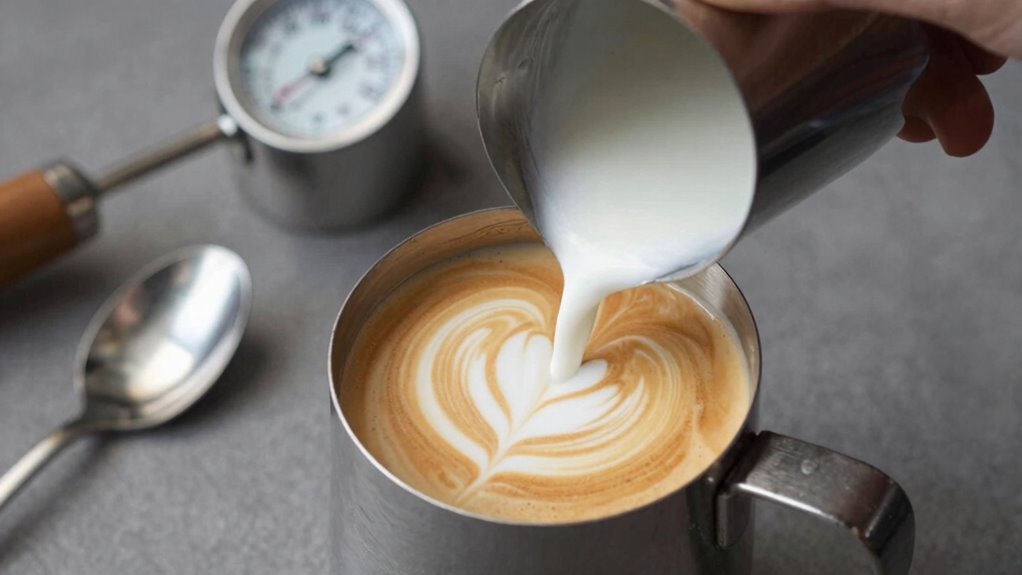
While you might focus on pouring techniques, the texture of your milk plays a crucial role in achieving great latte art. Proper milk frothing guarantees a creamy consistency that enhances both visual appeal and flavor balance. Here’s why texture matters:
- Texture Importance: A fine microfoam creates a silky mouthfeel, essential for latte consistency.
- Flavor Balance: The right texture helps blend espresso and milk, bringing out the best flavors.
- Visual Appeal: Smooth, velvety milk allows for cleaner, sharper designs that impress.
- Brewing Techniques: Mastering milk frothing complements your espresso skills, elevating your overall beverage quality.

Breville BCG820BSS Smart Grinder Pro for Coffee and Espresso, Brushed Stainless Steel
The Breville Smart Grinder Pro includes 60 unique settings – this programmable conical burr grinder offers a wide...
As an affiliate, we earn on qualifying purchases.
Top 5 Common Latte Art Mistakes and Solutions
When you’re crafting latte art, you might run into a few common pitfalls. Incorrect milk texture and poor pouring technique can really throw off your designs. Let’s explore these mistakes and how to fix them for a flawless pour every time.
Incorrect Milk Texture
Certainly! Here’s your revised content with the requested changes:
—
One of the top mistakes in latte art is achieving the wrong milk texture. Proper milk frothing is essential for a beautiful pour. If your milk isn’t velvety and glossy, the art won’t hold. Here are four solutions to improve your milk texture:
- Adjust Steam Wand Position: Make sure the steam wand’s tip is just below the surface of the milk for ideal frothing.
- Monitor Temperature: Heat the milk to about 150°F; overheating can ruin texture. Proper temperature control is crucial to achieving the right consistency.
- Use Fresh Milk: Fresh whole milk creates a creamier texture compared to older or low-fat alternatives. Nutrition fundamentals emphasize the importance of quality ingredients for the best results.
- Practice Your Technique: Consistent practice with your steam wand will refine your frothing skills and texture. Additionally, smart wellness tools can help you create a more controlled brewing environment, ensuring optimal conditions for latte art. Incorporating connected equipment can also enhance your overall frothing experience.
Additionally, maintaining indoor air quality can enhance your overall brewing environment, leading to better focus and consistency. Master these tips, and you’ll elevate your latte art!
—
Let me know if you need any further adjustments!
Poor Pouring Technique
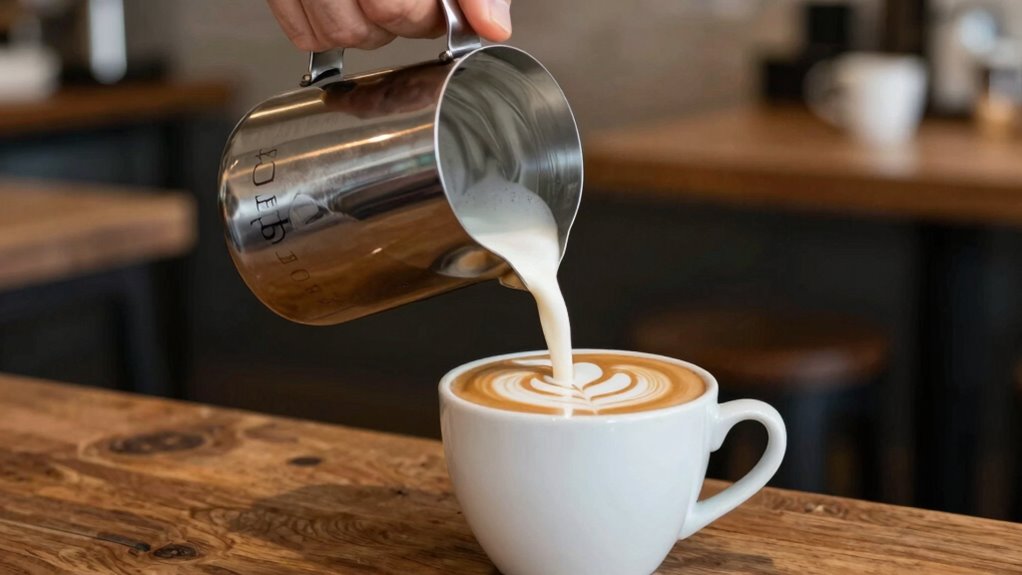
Mastering latte art goes beyond just perfecting your milk texture; poor pouring technique can also derail your efforts. Start by adjusting your pouring posture; keep your body relaxed and your pitcher steady. Your wrist movement should be fluid, allowing you to control the pour’s flow rate. Angle control is essential—tilt the pitcher about 30 degrees for a steady stream. Maintaining the right pitcher distance; too close and you’ll splatter, too far and you’ll lose control. Additionally, using innovative tools can help you achieve that perfect pour. Incorporating essential oils for relaxation can enhance your focus and calmness while pouring. To further improve your technique, ensure that you are in a comfortable position to prevent strain and promote better control. Remember that the pour is not just about aesthetics; it’s also about achieving the right coffee grind consistency to ensure optimal flavor extraction. Finally, focus on spout precision; pour directly into the center of the cup to create defined patterns. By refining these elements, you’ll elevate your latte art and impress everyone with your skill. Additionally, understanding the pouring technique fundamentals can greatly enhance your overall coffee experience.

Breville Dual Boiler Espresso Machine BES920XL, Brushed Stainless Steel
Earn up to $200 cashback with a Beanz coffee subscription when you purchase a selected Breville espresso machine....
As an affiliate, we earn on qualifying purchases.
Choosing the Best Pitcher for Perfect Pours

When it comes to pouring latte art, size really does matter. A pitcher that’s the right size allows for better control, while the material you choose can affect the milk’s texture. Let’s explore how these factors can elevate your pouring game.
Size Matters For Pours
Choosing the right size pitcher can dramatically impact your latte art skills, as it influences how you control the flow and texture of milk. A pitcher that’s too large can make it hard to achieve precise pour angles, while a small one might not hold enough milk for your desired design. Here are four key factors to take into account:
- Pitcher Shapes: Choose a shape that suits your pour style—narrow spouts for detail, wider for larger designs. The shape can also influence milk frothing techniques, enhancing your overall latte art experience.
- Size: Evaluate your milk volume needs; smaller pitchers work for single cups, larger for multiple servings. Understanding different brewing methods can also inform your choice, as they may require varying amounts of milk.
- Pour Angles: A smaller pitcher allows for more controlled angles, enhancing precision.
- Comfort: Make sure the size fits comfortably in your hand for stability during pours.
Incorporating aromatherapy benefits into your routine can enhance relaxation, making your latte art practice even more enjoyable.
Material Choice Impacts Results
The material of your latte art pitcher plays an essential role in achieving the perfect pour. Different material types impact temperature control, which affects milk types and foam density. Stainless steel is a popular choice for its durability and heat retention, while ceramic offers aesthetic appeal but can be less effective for temperature management. Additionally, the choice of materials can influence eco-friendly practices by reducing waste and promoting sustainability. Using materials with lower comedogenic ratings can also help you maintain a cleaner brewing environment. Regularly maintaining your pitcher, similar to how you would with an air purifier, ensures optimal performance and longevity.
Consider pitcher shapes; a narrow spout helps control pour speed and surface tension, making it easier to create intricate designs. High refresh rates in your pouring technique can also enhance your results. Choose a pitcher that balances design elements with functionality, allowing you to manipulate foam density and achieve precise pours. With the right pitcher materials and shape, your latte art will reach new heights. Additionally, understanding temperature control mechanisms can further improve your pouring technique and overall brewing experience.
Mastering Free Pour Latte Art Techniques
Mastering Free Pour Latte Art Techniques
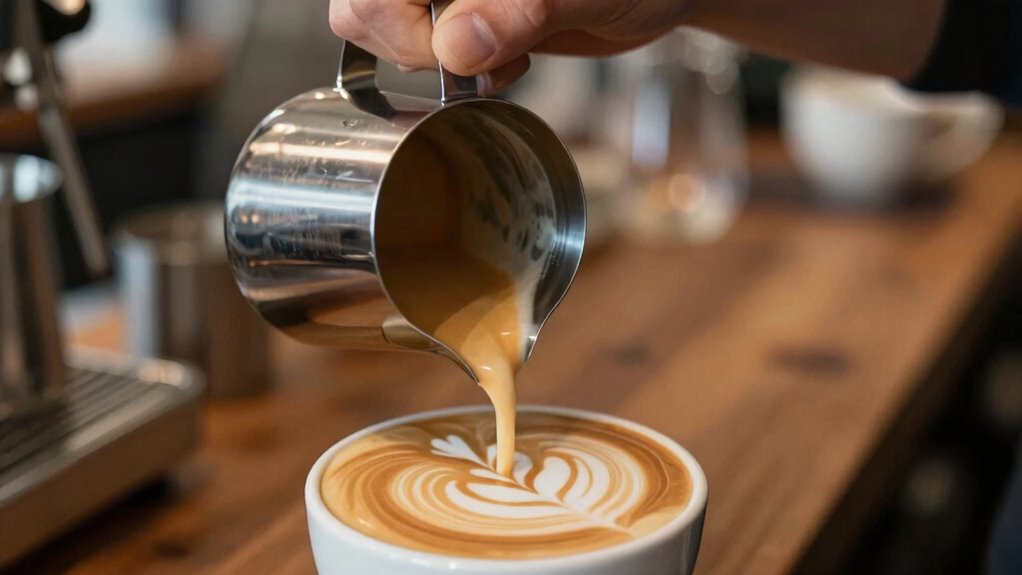
While mastering free pour latte art techniques may seem challenging at first, you’ll soon discover that with practice, you can create stunning designs that elevate your coffee experience. To help you on your journey, focus on these key aspects:
- Pouring Angles: Experiment with different angles to achieve various effects.
- Common Patterns: Start with simple designs like hearts and rosettas to build your confidence.
- Consistency Tips: Maintain a steady flow and temperature for better results; proper milk texture is essential for achieving the best outcomes. Additionally, understanding how gear works can significantly enhance your brewing process. Always keep in mind that child safety measures are crucial in any kitchen environment to prevent accidents while you’re focusing on your latte art. The right brewing science principles will further refine your technique and improve your results.
- Practice Routines: Dedicate time daily to refine your skills and explore advanced techniques.
As you progress, you’ll find that artistic expression becomes second nature, allowing you to craft creative designs that enhance the visual appeal of your brews. Remember, just like with pizza ovens, fuel type can greatly impact your results, so choose wisely! Keep practicing, and enjoy the journey!
Exploring Etching Techniques to Enhance Your Skills
Building on your free pour skills, exploring etching techniques can add a new dimension to your latte art. By using etching tools like toothpicks or fine brushes, you gain precision control over design patterns. Experimenting with color contrasts helps your art pop, while layering techniques can create depth. Here’s a quick reference table to guide your practice routines:
| Technique | Description |
|---|---|
| Basic Etching | Simple shapes and lines |
| Advanced Etching | Intricate designs |
| Color Contrast | Using different milk types |
| Layering Techniques | Building depth in designs |
| Creative Inspiration | Drawing from nature or art |
Incorporate these ideas into your daily practice, and watch your skills flourish!
Fixing Latte Art Design Issues
When you notice flaws in your latte art, don’t panic; fixing design issues is part of the learning process. To enhance your latte art troubleshooting skills and achieve design consistency, consider these tips:
Embrace the journey of perfecting your latte art; every flaw is an opportunity to learn and improve.
- Adjust Your Pouring Technique: Experiment with the angle and speed of your pour to control the flow better.
- Check Your Milk Texture: Verify your milk is microfoamed correctly; overly frothy milk can ruin your design.
- Mind Your Coffee Base: Use a fresh shot of espresso; stale or uneven shots can affect the contrast in your artwork.
- Practice, Practice, Practice: Consistency comes with time. Keep pouring and refining your technique to see improvement.
With patience, you’ll see your latte art transform!
Maintaining Your Latte Art Equipment for Longevity

After addressing those latte art design issues, it’s time to contemplate how to keep your equipment in top shape. Start with regular cleaning routines; a clean pitcher guarantees quality froth and maintains your art. Rinse your pitcher immediately after use to prevent milk residue from hardening. Establish a maintenance schedule to check for any wear and tear, assuring your tools are always ready for action. Proper equipment storage is essential—keep your pitcher in a safe, dry place to avoid damage. Finally, invest time in pitcher care; polishing it occasionally will enhance its longevity and appearance. By prioritizing these practices, you’ll enjoy creating stunning latte art for years to come! Additionally, remember that effective leadership not only enhances team performance but also ensures that everyone is aligned in maintaining high standards, much like the care you give your latte art equipment.
Frequently Asked Questions
Can I Use Non-Dairy Milk for Latte Art?
Yes, you can use non-dairy milk for latte art! However, not all non-dairy options create the same foam stability. Look for barista blends, which are formulated to froth well and hold their shape. Almond, oat, and soy milks can work, but their performance varies. Experiment with different brands to find the one that produces the best foam for your art. With practice, you’ll be able to create beautiful designs!
How Do I Clean My Latte Art Pitcher Effectively?
To clean your latte art pitcher effectively, start by rinsing it with warm water right after use. If you’re using stainless steel, a gentle scrub with a soft sponge and mild detergent works wonders. For non-stick materials, avoid abrasive cleaners to preserve the coating. Don’t forget to steam it with hot water to remove any stubborn milk residue. Regular maintenance guarantees your pitcher stays as good as new, ready for your next masterpiece!
What Temperature Should My Milk Be for Pouring?
Your milk should be between 150°F and 155°F for ideal pouring. This temperature range guarantees proper milk frothing while maintaining a creamy texture. If it’s too hot, you risk scalding the milk, ruining the flavor and microfoam. Use a thermometer for precise temperature control, and remember to swirl the milk to keep it even. Mastering this step will elevate your latte art skills and enhance your overall coffee experience.
How Long Should I Steam My Milk for Best Results?
You should steam your milk for about 30 to 45 seconds for the best results. Focus on creating a smooth, velvety milk texture by using a proper steaming technique. Position the steam wand just below the surface, allowing air to incorporate into the milk early on. Once it reaches your desired temperature, stop steaming and swirl the pitcher to combine the milk and foam. This’ll give you that perfect pour for your latte art!
Can I Practice Latte Art Without an Espresso Machine?
Absolutely, you can practice latte art without an espresso machine! Think of it as painting on a blank canvas. Use milk frothing alternatives like a French press or a handheld frother to create that velvety foam. Experiment with different latte art techniques, like free pouring or etching, using your frothy milk over brewed coffee or tea. It’s a fun way to refine your skills and release your inner barista, one swirl at a time!
Conclusion
With practice and the right techniques, you can elevate your latte art skills to new heights. Did you know that around 80% of coffee drinkers appreciate a well-crafted design on their lattes? By mastering your pouring technique and understanding milk texture, you’ll not only impress your friends but also boost your coffee game. So grab your pitcher, experiment with different designs, and watch your coffee creations become the highlight of your brewing experience!