

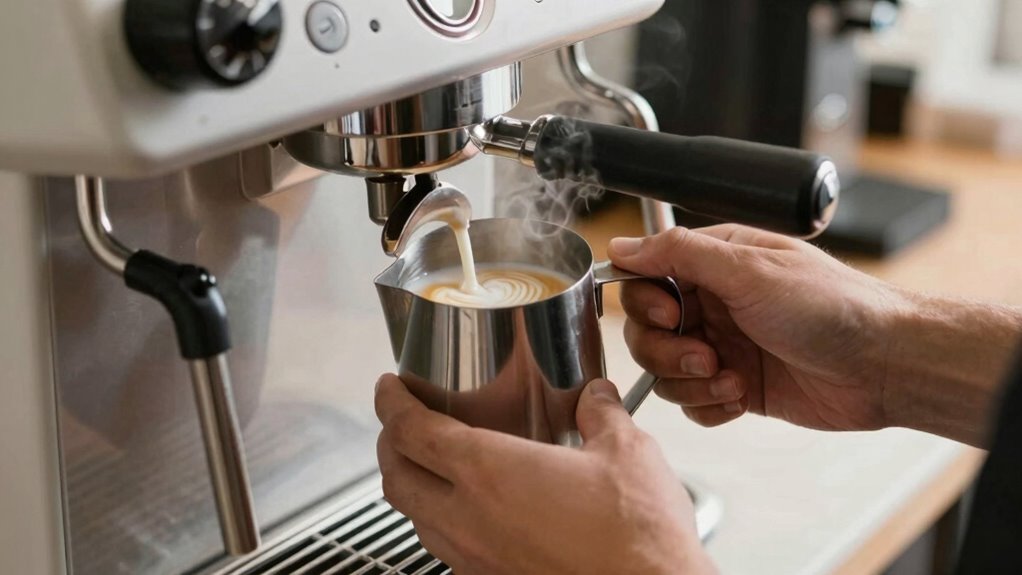
To steam oat milk for latte art, start by choosing a barista-style variety and pouring cold milk into a stainless steel pitcher, filling no more than halfway. Position the steam wand just below the surface to introduce air and create microfoam, then slowly lower the wand as the milk heats to around 140–150°F. Keep the wand submerged and swirl gently for velvety microfoam. If you want perfect foam and beautiful designs, continue exploring these detailed steps.
Key Takeaways
- Use cold, barista-style oat milk and fill the pitcher halfway for better microfoam.
- Position the steam wand just below the surface to introduce gentle air and create fine bubbles.
- Keep the pitcher spinning in small circles to develop a smooth, velvety microfoam.
- Monitor temperature with a thermometer, stopping steam at around 140–150°F for optimal texture.
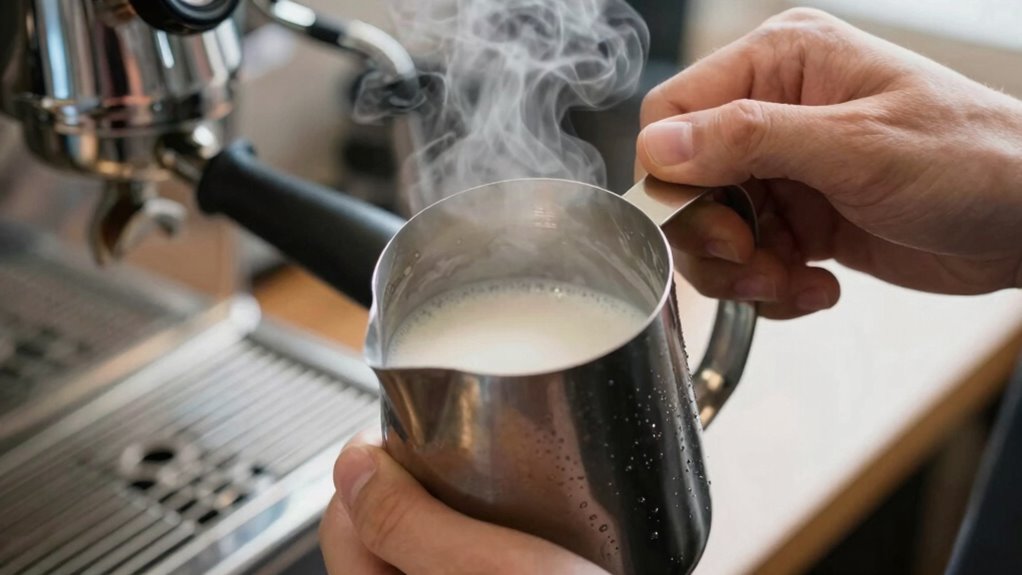
- Tap and swirl the pitcher gently before pouring to remove large bubbles and ensure consistent microfoam.

Milk Frothing Pitcher 350ml/600ml/900ml/1500ml (12oz/20oz/32oz/50oz) Steaming Pitchers Stainless Steel Milk/Coffee/Cappuccino/Latte Art Barista Steam Pitchers Milk Jug Cup with Art Pen,12oz
Perfect Combination Of Milk Frothing Pitcher And Latte Art Pen: The milk frother jug can be used in…
As an affiliate, we earn on qualifying purchases.
As an affiliate, we earn on qualifying purchases.
Gear Up: Equipment Needed to Steam Oat Milk
To steam oat milk effectively for latte art, you’ll need the right equipment. Your main tools include a milk frothing pitcher, preferably made of stainless steel, and a steaming wand or steam wand attachment. Oat milk alternatives vary, so choose a type that steams well and creates good microfoam. Steaming accessories, like thermometers, can help you monitor temperature, guaranteeing your oat milk doesn’t overheat. A sturdy, heatproof container makes handling and pouring easier. If you don’t have a professional espresso machine, a handheld frother or electric milk steamer can also work, but a proper steaming wand produces the best microfoam. Investing in quality steaming accessories guarantees you get smooth, velvety oat milk perfect for latte art. Additionally, using a high refresh rate steaming method can enhance the texture and consistency of your froth. Understanding digital content formats can also help in exploring unique latte art presentations.
electric milk steamer for oat milk
As an affiliate, we earn on qualifying purchases.
As an affiliate, we earn on qualifying purchases.
Step-by-Step: How to Steam Oat Milk for Perfect Microfoam
Getting perfect microfoam from oat milk starts with precise technique. Begin by choosing the right oat milk variety—barista blends tend to froth better due to added stabilizers. Pour cold oat milk into your steaming pitcher, filling it no more than halfway. Use steady, consistent frothing techniques, positioning the steam wand just beneath the surface to introduce air gently. As the milk begins to expand and warm, lower the wand deeper to heat it evenly without creating large bubbles. Keep a close eye on the temperature, aiming for around 140°F (60°C). Waterpark safety also emphasizes the importance of being attentive, just as you should with your steaming process. Spin the pitcher in small circles to achieve a silky, microfoam texture. Proper frothing techniques and selecting the right oat milk variety are essential for creating smooth, velvety microfoam perfect for latte art. Additionally, balancing support and boundaries in your approach can help you maintain focus and consistency in your frothing process.
digital thermometer for milk steaming
As an affiliate, we earn on qualifying purchases.
As an affiliate, we earn on qualifying purchases.
Why Steaming Oat Milk Matters for Latte Art

Sure! Here’s your revised article subheading content following the specified steps:
—
Steaming oat milk is key to creating smooth, velvety microfoam that makes your latte art stand out. It also helps blend flavors better, resulting in a richer taste experience. When you get steaming right, your latte looks better and tastes even more delicious. Additionally, mastering steaming techniques can enhance your outdoor cooking options for a more enjoyable home café experience. Incorporating aromatherapy benefits into your routine can further elevate your overall coffee experience. The future economies surrounding coffee culture are also evolving, emphasizing the importance of sustainable practices in enhancing the overall experience. Moreover, using high-quality milk alternatives can contribute to dog nutrition by promoting a healthier lifestyle for pet owners. Understanding home essentials can significantly improve your coffee-making skills and elevate your café experience at home.
—
Let me know if you need any further adjustments!
Enhances Microfoam Texture
When you properly steam oat milk, it develops a rich, velvety microfoam that’s essential for creating beautiful latte art. This microfoam’s smooth, consistent texture allows for precise pours and intricate designs. Steaming safety tips are key—avoid over-heating to prevent burning, and use the right temperature to maintain milk quality. While alternative milk options like almond or soy milk can produce foam, oat milk’s natural creaminess often results in superior microfoam. Achieving the ideal texture requires careful steaming technique, ensuring the milk is aerated evenly for a silky, stable foam. Properly steamed oat milk not only enhances the appearance of your latte but also makes your art easier to manipulate, giving you better control over your designs. Additionally, using high-quality oat milk can significantly improve the foam’s texture and stability.
Improves Flavor Integration
The process of steaming oat milk doesn’t just enhance its microfoam—it also plays a vital role in blending flavors seamlessly. When you steam oat milk properly, it encourages better flavor infusion, allowing the natural sweetness and nutty notes to meld smoothly with the milk’s texture. Steaming also improves milk compatibility, making the flavors more balanced and harmonious. This process helps eliminate any raw or beany aftertaste, creating a richer and more cohesive taste profile. Proper steaming guarantees the oat milk’s flavor doesn’t feel isolated or overpowering in your latte. Instead, it results in a smooth, unified flavor that complements your coffee perfectly. In this way, steaming truly elevates the overall flavor experience, making your latte more satisfying and well-rounded.

Zulay Kitchen Milk Frother Handheld Electric Whisk – Frother Wand, Durable Drink Mixer, Coffee Frother, Hand Blender, Frother for Protein Powder, Matcha & More – Black
CREAMY VELVETY FROTH IN SECONDS: Making coffee-shop-style recipes at home is as simple as it can be with…
As an affiliate, we earn on qualifying purchases.
As an affiliate, we earn on qualifying purchases.
Tips for Achieving Velvety Microfoam Every Time

Achieving velvety microfoam consistently starts with proper technique and attention to detail. First, choose the right oat milk variety—look for options labeled specifically for barista use, as they tend to produce better foam. While oat milk nutrition varies, opt for varieties with added fats or stabilizers, which help create a creamier texture. Always shake or stir the milk before steaming to distribute fats evenly. When steaming, keep the tip just below the surface to introduce air gradually, creating fine bubbles. Avoid overheating—aim for around 150°F (65°C)—to maintain the milk’s natural sweetness and prevent scalding. With consistent practice and focus on these details, you’ll achieve that smooth, velvety microfoam perfect for latte art.
Troubleshooting Common Steaming Problems
If your steamed oat milk isn’t turning out right, you might be facing common errors like overheating or under-steaming. Achieving the right texture requires managing temperature fluctuations carefully, so the milk stays smooth and velvety. Recognizing these issues helps you troubleshoot quickly and perfect your latte art. Maintaining work-life harmony can also help you focus better on your coffee-making skills without feeling rushed. Additionally, ensuring proper airflow around the unit can prevent overheating of your steaming equipment. Furthermore, understanding the importance of proper gear maintenance can enhance your overall experience in the kitchen. Investing in top car protection can streamline your daily routine by ensuring your vehicle is always ready for any trip, allowing you to enjoy your coffee moments without distraction. Ensure you’re also aware of infection risks related to any body piercings, as proper hygiene is crucial in preventing complications during your coffee-making breaks.
Common Steaming Errors
Steaming oat milk can sometimes lead to common issues that disrupt your latte art efforts. One frequent mistake is overheating, which causes the milk to become too foamy or scorched, ruining its texture. Using alternative milk options might also affect steaming results if they’re too thin or thick. To avoid problems, follow steaming safety tips: keep the wand submerged just below the surface and avoid direct contact with the pitcher’s sides. Remember that the ideal steaming technique can greatly improve your results, especially when using super-automatic espresso machines designed for milk frothing. Additionally, understanding safety checks can help ensure your equipment is functioning properly. Proper steaming can also enhance the texture and flavor of your drinks, making them more enjoyable.
| Issue | Solution |
|---|---|
| Overheating | Use a thermometer and stop steaming at 140°F |
| Thin or thick milk | Adjust steaming time or choose different milk options |
| Inconsistent texture | Practice proper wand positioning |
| Large bubbles | Tap and swirl the pitcher gently |
Mastering these common errors leads to perfect latte art every time.
Correct Milk Texture
Getting the milk texture right is key to creating smooth, glossy latte art. If your oat milk is too frothy or thin, it may be due to milk fermentation issues or improper steaming techniques. To improve texture, avoid over-aerating, which causes large bubbles and a grainy look. Instead, focus on alternative steaming techniques like gentle, consistent motion to incorporate air gradually. If you notice a sour smell or off-flavor, your milk might have undergone fermentation, impacting texture and taste. To prevent this, use fresh oat milk and keep your steaming equipment clean. Achieving the perfect milk texture involves balancing aeration and temperature without overdoing it, ensuring the milk is velvety and ready for beautiful latte art.
Managing Temperature Fluctuations
Temperature fluctuations during oat milk steaming can cause inconsistencies in texture and foam quality, leading to less effective latte art. To maintain temperature stability, monitor your steam wand’s heat and avoid rapid changes in temperature. Use milk frothing techniques that promote even heating, such as starting with cold milk and gradually increasing steam pressure. Keep the steam wand submerged just below the surface, and listen for a consistent hissing sound, indicating steady steam flow. If the milk overheats or cools unevenly, pause and adjust your technique to prevent temperature swings. Consistently managing temperature stability helps produce smooth, velvety microfoam essential for latte art. Additionally, ensuring cable safety practices can help prevent electrical hazards when using steaming equipment. Inclusive practices in your steaming technique can also enhance the overall quality of your oat milk. Incorporating copper cookware can improve your steaming process, as it retains heat exceptionally well. Practice controlling steam pressure and milk positioning to minimize fluctuations, ensuring your oat milk remains at the most suitable temperature throughout the steaming process.
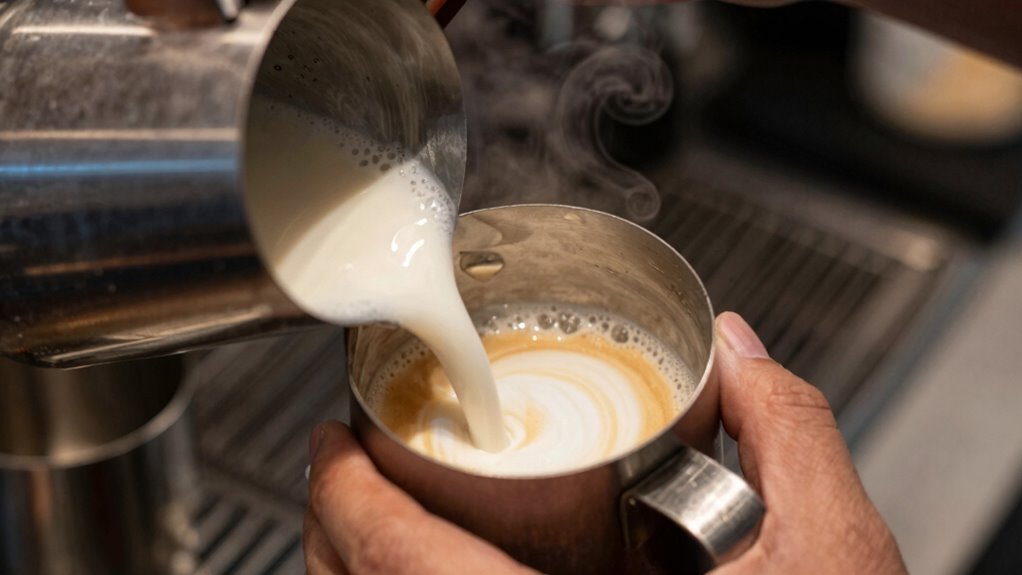
Pouring and Creating Beautiful Latte Art With Steamed Oat Milk
Sure! Here’s the revised content with the requested modifications:
—
Once your oat milk has been properly steamed to the right texture, the next step is pouring it with purpose to create stunning latte art. Start by holding the cup at a slight angle and pouring the oat milk steadily from a height to break the surface and form a base. Then, lower your pour and use controlled, deliberate movements to create designs. Different oat milk varieties can affect how well the foam flows, so experiment with your preferred type for best results. Straining paint can also be a useful technique to ensure smooth consistency in your milk, similar to achieving the right texture for latte art. Additionally, understanding multi-mower setups can help you maintain a consistent lawn care routine that parallels the precision needed for latte art. Mastering basic latte art techniques, like the heart or rosette, will help you develop your skills. Precision and patience are key—practice pouring with a steady hand to produce beautiful, intricate patterns that elevate your coffee experience. Additionally, filter sizing/flow can greatly influence the quality of the water used for steaming, impacting the overall taste of your latte.
—
Let me know if you need any further adjustments!
Frequently Asked Questions
Can I Steam Oat Milk in a Microwave Instead of a Steamer?
Yes, you can microwave oat milk to achieve a good oat milk texture, but it’s different from traditional steaming. Use a microwave-safe container and heat the milk in short bursts, stirring in between. Be careful not to overheat, as it can scorch or cause uneven heating. For the best foam, shake or whisk the milk vigorously after microwaving to mimic steamed texture, though it may not be quite as silky as steam-frothed milk.
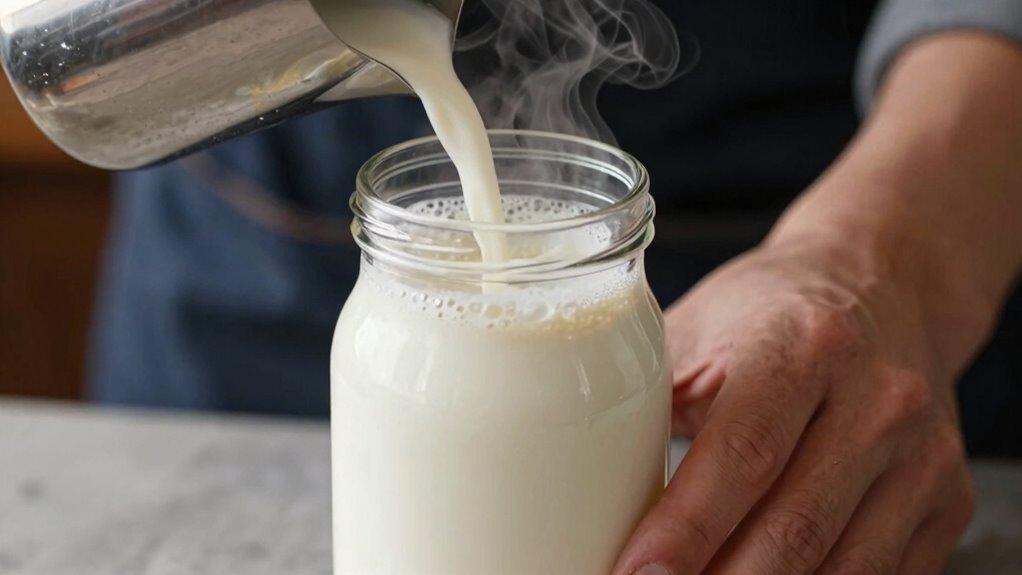
How Do I Store Leftover Steamed Oat Milk Safely?
You should store leftover steamed oat milk in an airtight container in the fridge to keep it fresh. For leftover storage, transfer it promptly and consume within 24 hours. When reheating, avoid boiling; instead, gently warm it on the stovetop or in short bursts in the microwave, stirring in between. Reheating techniques help preserve the texture and flavor, ensuring your oat milk remains delicious for your next coffee!
Is There a Preferred Type of Oat Milk for Steaming?
You get what you pay for, so choose a good oat milk brand like Oatly or Califia for better steaming results. These brands tend to froth better and create a creamier texture, making your latte art pop. When steaming, use gentle frothing techniques to avoid ruining the milk’s consistency. A preferred type is barista-style oat milk because it’s formulated for steaming, giving you the best chance for perfect latte art.
How Can I Prevent Oat Milk From Curdling During Steaming?
To prevent oat milk from curdling during steaming, focus on oat milk stability by choosing brands with added stabilizers or emulsifiers. Keep your steaming temperature moderate—around 140-150°F—since high heat can cause curdling. Avoid over-steaming, which can break down proteins and destabilize the milk. Stir gently before steaming to guarantee even consistency, and always use fresh, refrigerated oat milk for the best curdling prevention.
What Temperature Should the Oat Milk Reach for Optimal Foam?
You should aim for the oat milk to reach around 140°F to 150°F for ideal foam. This temperature guarantees temperature consistency, which is key to creating stable, creamy foam. When you heat it carefully, you promote foam stability, making your latte art look smooth and professional. Use a thermometer to monitor the temperature, and stop steaming once you hit the right range to avoid overheating and curdling.
Conclusion
Now that you’ve mastered steaming oat milk, you’re ready to impress with your latte art skills—no need to be a Barista of old. Remember, patience and practice are your best allies, much like a knight honing their craft. Keep experimenting, and soon your velvety microfoam will flow like a well-tuned lute, creating beautiful designs that turn every coffee into a work of art. Cheers to your frothy, flavorful journey ahead!