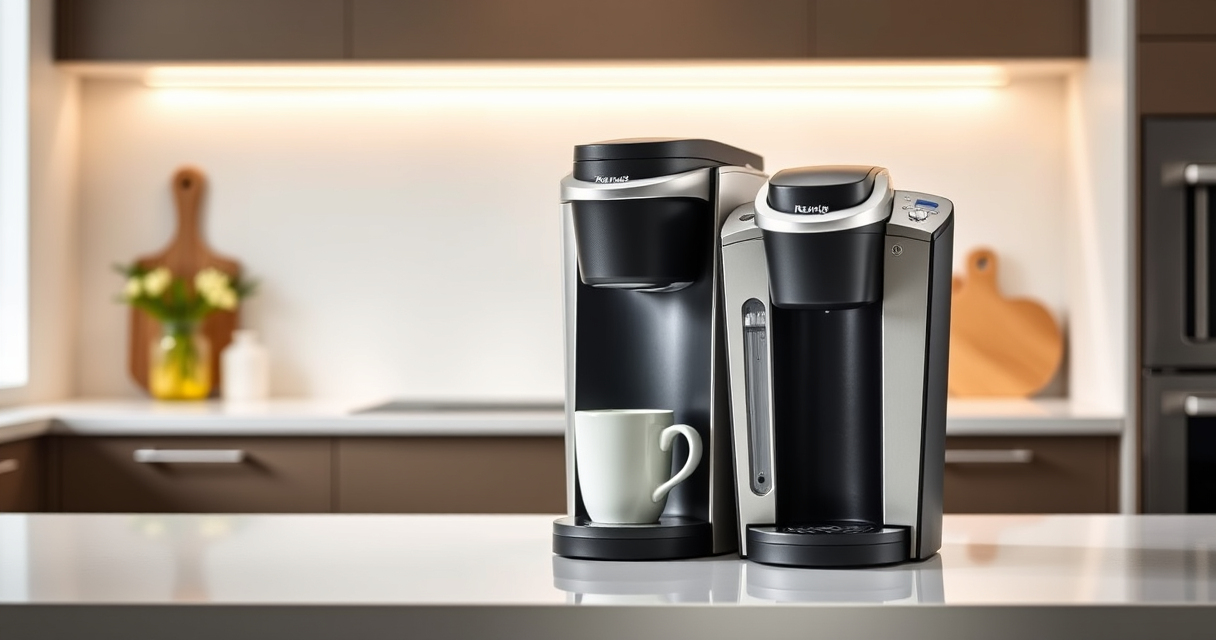
Setting up your new Keurig K-Mini is straightforward, but following the right steps ensures optimal performance and safety. This guide walks you through the entire setup process, including tips for troubleshooting common problems so you can enjoy your coffee without delay.

Get coffee and tea gear delivered free with Prime
- Fast, free delivery on millions of items
- Prime Video, Amazon Music and more included
- Member-only deals all year
Whether you’re a first-time Keurig user or need a refresher, these clear, practical instructions help you get your coffee maker ready in minutes.
Key Takeaways
| Compact & Space-Saving | Keurig K-Mini fits any small space, perfect for tight countertops. |
| Customizable Brew Sizes | Brew between 6-12 oz using K-Cup pods. |
| Easy Water Filling | One-cup reservoir for fresh water each brew. |
| Quick & Fresh Coffee | Brew in minutes with minimal cleanup. |
| Maintenance Matters | Regular descaling and cleaning keep your coffee tasting its best. |
Unpacking and Preparing Your Keurig K-Mini
- Remove the coffee maker from the box and place it on a flat, stable surface.
- Ensure the power cord is plugged into a suitable outlet.
- Remove the water reservoir if applicable and rinse it thoroughly.
Initial Setup and Water Filling
- Open the lid and lift the reservoir (if removable).
- Fill the reservoir with fresh, clean water up to the max fill line.
- Reattach the reservoir securely and close the lid.
Powering On and First Brew
- Press the power button; the light will turn on.
- Place a mug on the removable drip tray, ensuring it can hold up to 7 inches tall.
- Insert a K-Cup pod into the pod holder.
- Select your desired brew size (6-12 oz) using the control button.
- Press brew button and wait for your coffee to dispense.
Troubleshooting Common Issues
- If water isn’t dispensing, check for clogs or blockages in the needle or water pathway.
- If the machine doesn’t turn on, verify the power outlet and cord connection.
- For persistent issues, perform a descale using recommended cleaning kits.
Maintenance and Care
- Descale your Keurig every 3-6 months using a descaling solution or vinegar to prevent mineral buildup.
- Regularly clean the drip tray and exterior with a damp cloth.
- Use the Rinse or Cleanse kits periodically to keep internal components clear.
The Products in This Guide

Keurig K-Mini Single Serve K-Cup Pod Coffee Maker
- ✔ Weight: 4.6 lbs
- ✔ Material: Matte finish plastic
- ✔ Mug Compatibility: Up to 7 inches tall

My K-Cup® Reusable Coffee Filter
- ✔ Size: Fits standard K-Cup holder
- ✔ Material: BPA-free plastic
- ✔ Color: Black
Keurig K-Mini Single Serve K-Cup Pod Coffee Maker
The Keurig K-Mini offers a sleek, space-saving design with customizable brew sizes, making it ideal for small kitchens or offices. Its simple setup and quick brew time allow you to enjoy fresh coffee in minutes.
Pros:
- Fits small spaces
- Brew 6-12 oz cups
- Removable drip tray
- Auto off feature
Cons:
- Limited water reservoir
- No strong brew setting
- No temperature control
Best for: Small spaces and quick, single servings
Not ideal for: Large households or those needing multiple cups at once
Bottom line: A compact, efficient coffee maker perfect for small spaces and quick brewing.
My K-Cup® Reusable Coffee Filter
The My K-Cup® Reusable Coffee Filter provides a convenient way to brew your favorite ground coffee with the Keurig K-Mini. It’s easy to use and compatible with many Keurig models, allowing you to enjoy more coffee variety.
Pros:
- Use your own ground coffee
- Cost-effective
- Environmentally friendly
- Easy to clean
Cons:
- Requires measuring ground coffee
- May affect brew time
- Less convenience than K-Cups
Best for: Coffee enthusiasts who prefer ground beans
Not ideal for: Quick single-serve K-Cup convenience seekers
Bottom line: A versatile reusable filter that enhances your coffee options.
Frequently Asked Questions
How often should I descale my Keurig K-Mini?
It’s recommended to descale every 3-6 months using a descaling solution or vinegar to prevent mineral buildup and ensure optimal performance.
Can I use ground coffee instead of K-Cup pods?
Yes, with the My K-Cup reusable filter, you can brew ground coffee instead of using K-Cup pods, giving you more flavor options.
What should I do if my coffee maker is not brewing?
Check for clogs or blockages, ensure the water reservoir is filled properly, and perform descaling if needed. If issues persist, consult the troubleshooting section.
Is the Keurig K-Mini travel mug friendly?
Yes, the removable drip tray accommodates travel mugs up to 7 inches tall, making it convenient for on-the-go use.
Enjoy Your Perfect Brew — Setup Success
Setting up your Keurig K-Mini is simple when following these steps. Regular maintenance, including descaling and cleaning, will keep your machine functioning smoothly and your coffee tasting great. Now, you’re ready to enjoy your favorite hot beverages quickly and effortlessly every day.
Affiliate disclosure: As an Amazon Associate we earn from qualifying purchases. Prices and availability are accurate as of the time of publishing.
Fall Picks
fall essentials
As an affiliate, we earn on qualifying purchases.