
If your Keurig K-Mini isn’t brewing properly or has developed other issues, don’t worry. Regular maintenance and troubleshooting can often resolve common problems, ensuring your coffee maker works efficiently and continues to deliver fresh, hot brews. This guide provides practical, step-by-step instructions to help you identify and fix issues safely, keeping your Keurig in top shape.

Get coffee and tea gear delivered free — and shop member deals
- Fast, free delivery on millions of items
- Access to Prime Big Deal Days deals on October 6–7
- Prime Video, Amazon Music and more included
Whether it’s a clog, descaling need, or a machine that won’t turn on, we’ve got you covered. Follow these tips carefully, and you’ll be able to troubleshoot most common problems at home without needing professional help.
Key Takeaways
| Regular Descaling is Key | Descale your Keurig every 3 months to prevent mineral buildup. |
| Keep It Clean | Regular cleaning of the brew head and reservoir avoids flavor carry-over. |
| Check Water Levels | Always ensure sufficient water in the reservoir before brewing. |
| Use Proper Accessories | Use compatible reusable filters like My K-Cup for ground coffee. |
| Troubleshoot Before Replacing | Most issues can be resolved with simple cleaning or descaling. |
Identifying Common Issues
Before diving into troubleshooting steps, it’s helpful to recognize common problems with the Keurig K-Mini. Typical issues include the machine not turning on, no water flow during brewing, leaks, or inconsistent coffee temperature. Understanding these symptoms allows for targeted solutions, saving time and effort.
If your Keurig is unresponsive, check the power connection and the power switch. For water flow issues, inspect the water reservoir and brew head for clogs or buildup. Leaks often stem from a misaligned reservoir or debris blocking channels. Recognizing these signs early helps you address problems quickly and avoid costly repairs.
Step-by-Step Troubleshooting Guide
- Ensure Power Connection: Confirm the power cord is securely plugged into an outlet. Try plugging in another device to verify the outlet works. Turn the machine on and check for lights or signals.
- Check Water Reservoir: Remove and refill the water reservoir, ensuring it’s seated correctly. Use fresh water each time to prevent mineral buildup.
- Clean the Brew Head: Remove any coffee grounds or debris from the brew head. Use a soft cloth or a small brush to clear obstructions.
- Descale the Machine: If mineral buildup is suspected, descaling is essential. Use a descaling solution or a mixture of equal parts water and vinegar. Follow the descaling instructions below.
- Run a Cleaning Cycle: Use a rinse pod or run plain water through the machine to flush out residues.
- Inspect for Leaks: Check the reservoir and water lines for cracks or misalignments. Tighten or replace parts if necessary.
Descaling Your Keurig K-Mini
Descaling removes mineral deposits that can clog internal channels and affect brewing performance. For the Keurig K-Mini, descaling should be done every 3 months or more frequently if you notice slower water flow or temperature drops.
Follow these steps:
- Fill the water reservoir with a descaling solution or a mixture of equal parts water and distilled white vinegar.
- Place a cup under the spout.
- Power on the machine and run a brew cycle without a K-Cup, allowing the solution to flow through.
- Repeat the process until the reservoir is empty.
- Fill the reservoir with fresh water and run multiple brew cycles to rinse out remaining descaling solution.
Note: Do not use abrasive cleaners or harsh chemicals, as they can damage the machine.
Cleaning and Maintenance Tips
Regular cleaning keeps your Keurig K-Mini performing at its best. Here are some essential tips:
- Clean the exterior and drip tray weekly with a damp cloth.
- Remove and wash the water reservoir monthly with warm, soapy water.
- Clear the brew head of any coffee grounds or residue after each use.
- Use a rinse pod or run plain water through the machine at least once a week to prevent flavor carry-over and buildup.
Replacing the water filter cartridge every 2-3 months enhances water quality and taste, and helps prevent scale buildup.
When to Seek Professional Help
If troubleshooting and cleaning do not resolve your Keurig K-Mini issues, it may be time to consult a professional or contact customer support. Problems like persistent leaks, electrical issues, or internal component failures are best handled by certified technicians. Avoid attempting repairs beyond basic cleaning to prevent voiding your warranty or causing further damage.
The Products in This Guide

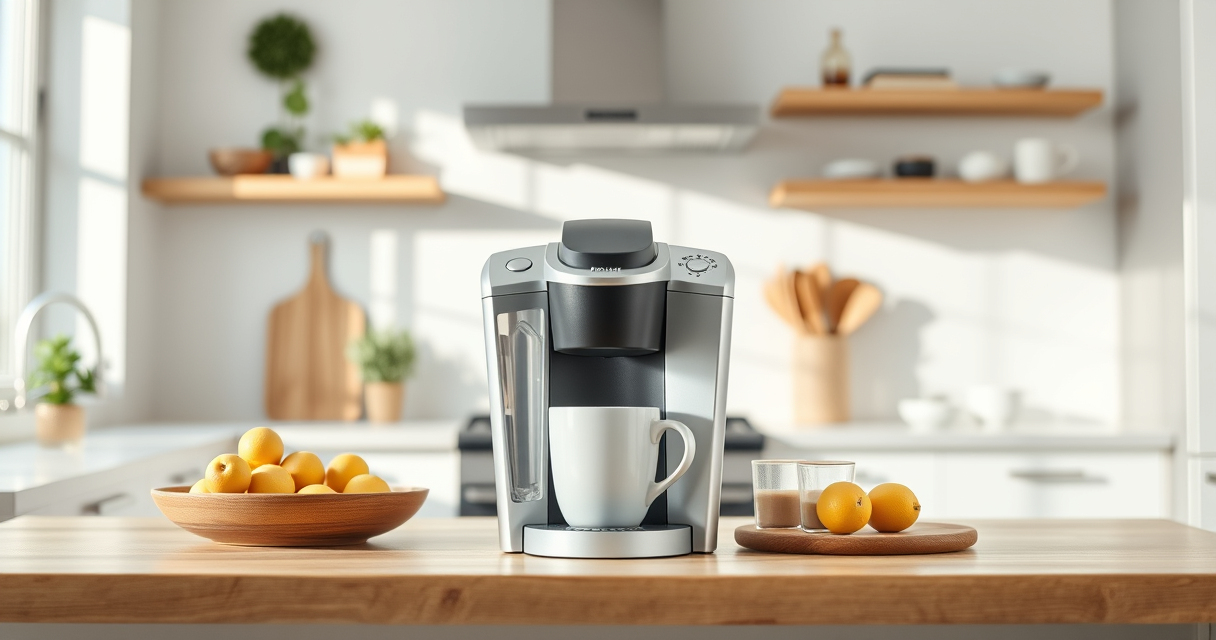
Keurig K-Mini Single Serve K-Cup Pod Coffee Maker
- ✔ Weight: Only a few pounds
- ✔ Power Cord: Includes cord storage
- ✔ Auto-Off: Yes

My K-Cup® Reusable Coffee Filter
- ✔ Weight: Lightweight
- ✔ Cleaning: Dishwasher safe
- ✔ Material: Plastic
Keurig K-Mini Single Serve K-Cup Pod Coffee Maker
The Keurig K-Mini is a highly convenient, space-saving coffee maker ideal for small kitchens, offices, or travel. Its simple design and quick brew times make it a favorite for daily use. Regular maintenance, including descaling and cleaning, will keep it functioning smoothly for years.
Pros:
- Compact and space-efficient
- Fast brewing in minutes
- Removable drip tray for easy cleaning
- Compatible with My K-Cup reusable filter
Cons:
- Limited water reservoir capacity
- No on/off switch, auto off only
- No temperature control
Best for: Small spaces, quick coffee needs, travel-friendly brewing
Not ideal for: Large volume brewing, advanced features, or multiple user households
Bottom line: A compact, reliable coffee maker perfect for small spaces with easy maintenance.
My K-Cup® Reusable Coffee Filter
The My K-Cup reusable coffee filter offers a sustainable way to brew your favorite ground coffee with the Keurig. Its updated design fits the K-Mini perfectly, making it an excellent choice for those who prefer ground coffee over pods. Easy to clean and compatible with your machine, it enhances flavor extraction and reduces waste.
Pros:
- Eco-friendly, reusable
- Easy to clean
- Affordable replacement
- Compatible with K-Mini
Cons:
- Requires ground coffee prep
- May need fine-tuning for grind size
- Less convenient than pods
Best for: Brewing ground coffee, reducing waste, customizing blends
Not ideal for: Quick, pod-based brewing, travel use without cleaning
Bottom line: A durable, eco-friendly option to brew with your ground coffee favorites.
Frequently Asked Questions
How often should I descale my Keurig K-Mini?
Descaling is recommended every 3 months or more frequently if you notice slower water flow or changes in brew temperature. Use a descaling solution or vinegar-water mixture for best results.
Why is my Keurig not turning on?
Check the power cord and outlet. Make sure the cord is firmly plugged in and the outlet is functional. If the machine still doesn’t turn on, try resetting or replacing the power cord.
My coffee tastes off. What should I do?
Perform a thorough cleaning and descaling. Also, ensure you’re using fresh water and cleaning the brew head regularly to prevent flavor carry-over.
Can I use my own ground coffee with the Keurig K-Mini?
Yes, using a reusable filter like the My K-Cup allows you to brew your favorite ground coffee instead of pods, offering more flavor options and reducing waste.
What should I do if my machine leaks?
Inspect the water reservoir and tubing for cracks or misalignment. Tighten connections or replace damaged parts. Ensure the reservoir is properly seated.
Keep Your Keurig K-Mini Brewing Perfectly
With regular cleaning, descaling, and proper use, your Keurig K-Mini will continue to deliver great-tasting coffee every day. Troubleshooting common issues is straightforward and can often be resolved with simple steps. Remember to keep your machine clean and follow the recommended maintenance schedule to extend its lifespan and enjoy optimal performance for years to come.
Affiliate disclosure: As an Amazon Associate we earn from qualifying purchases. Prices and availability are accurate as of the time of publishing.
Evergreen bestsellers Picks
bestsellers
As an affiliate, we earn on qualifying purchases.