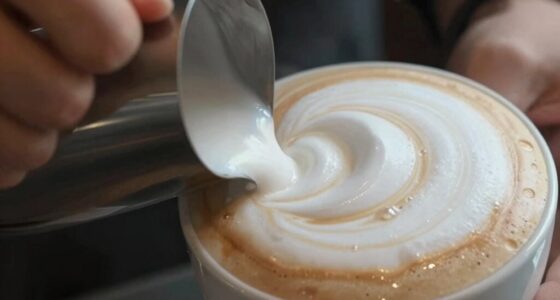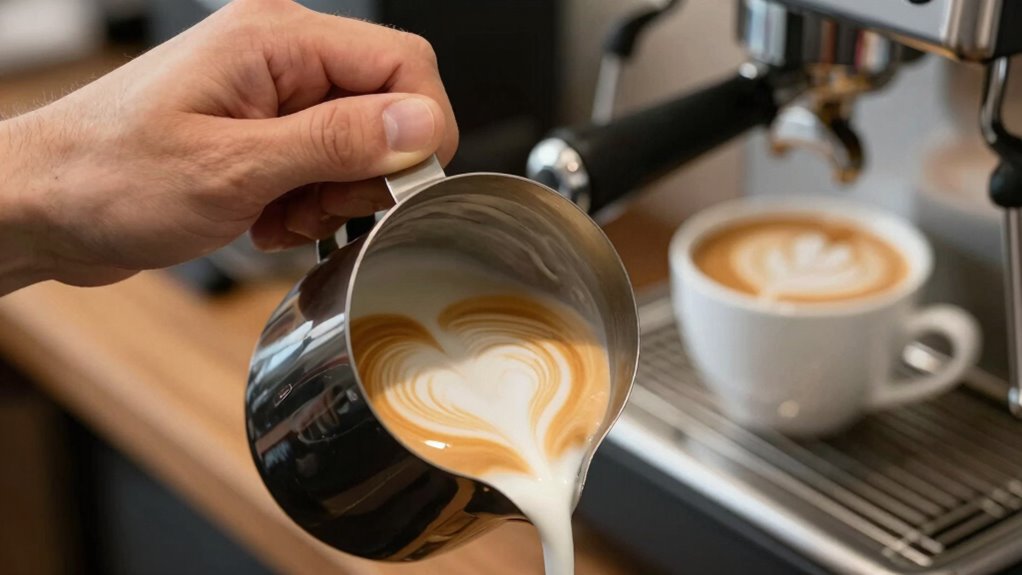

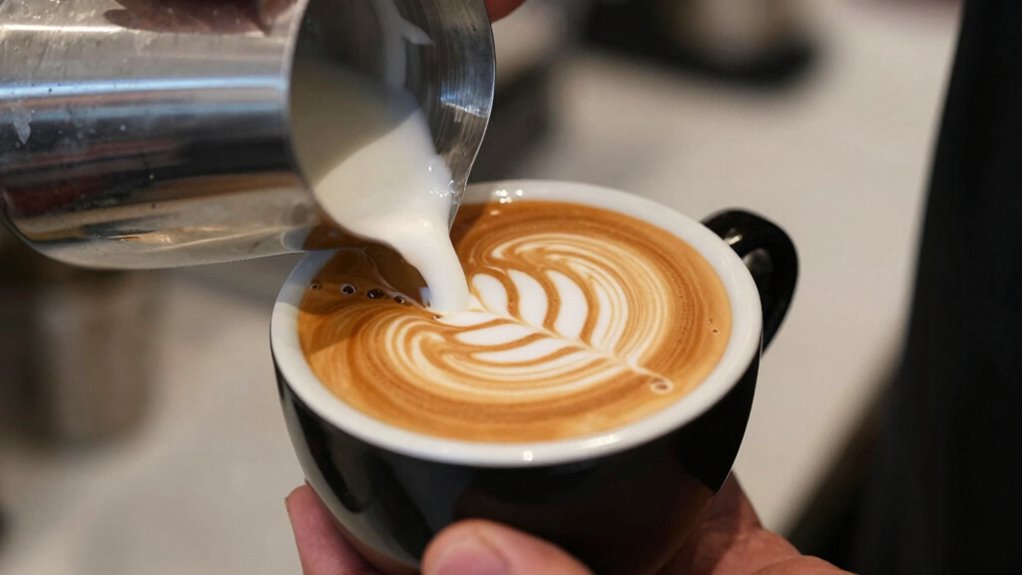
To swirl milk for latte art, start by pouring the steamed, velvety microfoam steadily into the cup, holding the pitcher close to the surface. Gently wiggle or swirl the pitcher as you pour, maintaining a steady hand and consistent speed. Keep your movements smooth and controlled to guide the pattern and create sharp contrasts. Practicing these techniques will help you master beautiful designs, and if you keep practicing, you’ll uncover even more tips to perfect your swirl skills.
Key Takeaways
- Maintain a steady, controlled pour while gently swirling the cup to guide the pattern formation.
- Keep the cup at a consistent angle and height to ensure smooth, even blending of milk and espresso.
- Use confident, fluid motions to create contrast and sharpness in the latte art design.
- Adjust your hand and pouring speed based on the milk texture for better swirl control.
- Practice regular swirling techniques to improve precision and develop unique, clean patterns.

DREO Milk Frother, All-in-1 Electric Foam Maker for Coffee, 15oz/450ml Automatic Foam Frother for Latte Art-level Microfoam, 30+ Drinks, Easy to Clean, Dishwasher Safe, LED display
𝘼𝙡𝙡-𝙉𝙚𝙬 𝘿𝙍𝙀𝙊 𝙈𝙞𝙡𝙠 𝙁𝙧𝙤𝙩𝙝𝙚𝙧: [Upgraded Version] Completely reengineered to deliver café-quality mastery at home. Create latte art-level microfoam…
As an affiliate, we earn on qualifying purchases.
As an affiliate, we earn on qualifying purchases.
Why Milk Texture Matters for Perfect Latte Art
The texture of milk plays an essential role in creating stunning latte art because it directly affects how well the milk flows and integrates with the espresso. Achieving the right milk temperature is critical; if it’s too hot, the milk becomes thin and loses its ability to swirl smoothly. Too cold, and the milk won’t foam properly. Foam density is equally important—you want a velvety microfoam with a glossy finish, not large bubbles or dry foam. Smooth, well-textured milk flows easily, allowing you to create intricate patterns. When the milk is properly heated and has the right foam density, it blends seamlessly with the espresso, making your latte art sharp and defined. Proper milk texture is the foundation for stunning, professional-looking designs. Additionally, using high-quality milk can significantly improve your foam consistency and overall results. Furthermore, achieving the ideal foam density requires an understanding of color accuracy, as it influences the visual appeal of your latte art. Many professional baristas also emphasize the importance of digital frames for displaying latte art photos, highlighting the connection between art and technology. Moreover, the impact of technology on espresso machines has revolutionized how baristas achieve the perfect milk texture, making it easier to master latte art.

Milk Frothing Pitcher 350ml/600ml/900ml/1500ml (12oz/20oz/32oz/50oz) Steaming Pitchers Stainless Steel Milk/Coffee/Cappuccino/Latte Art Barista Steam Pitchers Milk Jug Cup with Art Pen,12oz
Perfect Combination Of Milk Frothing Pitcher And Latte Art Pen: The milk frother jug can be used in…
As an affiliate, we earn on qualifying purchases.
As an affiliate, we earn on qualifying purchases.
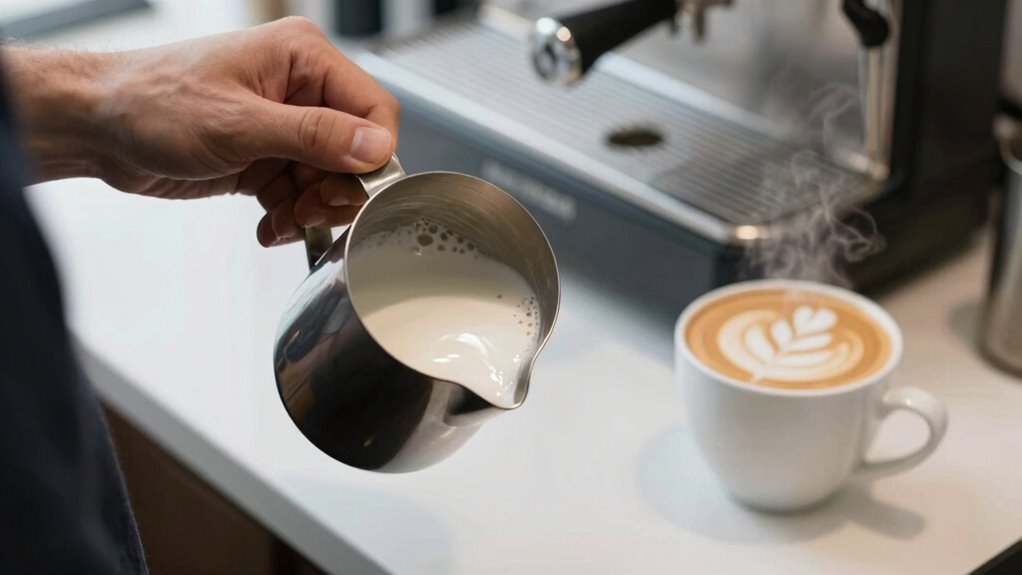
Choosing the Best Milk and Frothing Tools
Selecting the right milk and frothing tools is essential for achieving smooth, glossy microfoam perfect for latte art. If you prefer milk alternatives, choose options like almond, soy, or oat milk, but keep in mind they may require different frothing techniques. To get consistent results, invest in quality frothing accessories such as a milk frother, steam wand, or even a handheld electric frother. Air fryer accessories can also be useful for preparing complementary treats to enjoy with your lattes. Foam quality heavily depends on your tools, so opt for a frothing pitcher with a narrow spout for better control during pouring. Using the right combination of milk and accessories helps you create the ideal microfoam texture, making it easier to swirl and craft stunning latte art. The right tools set the foundation for professional-looking designs every time. Understanding how to steam milk can also enhance your presentation of latte art, as regional flavors can influence the choice of milk and enhance the overall experience.

CIRCLE JOY Rechargeable Milk Frother Hanheld, Dual Coil Whisk Head Electric Coffee Frother, Portable Hand Frother Wand Drink Mixer for Matcha Lattes Cappuccino, Kitchen Gifts, Black
CREAMY FROTH IN SECONDS: Featuring a powerful high-speed motor and an upgraded double-spring whisk head, this milk frother…
As an affiliate, we earn on qualifying purchases.
As an affiliate, we earn on qualifying purchases.
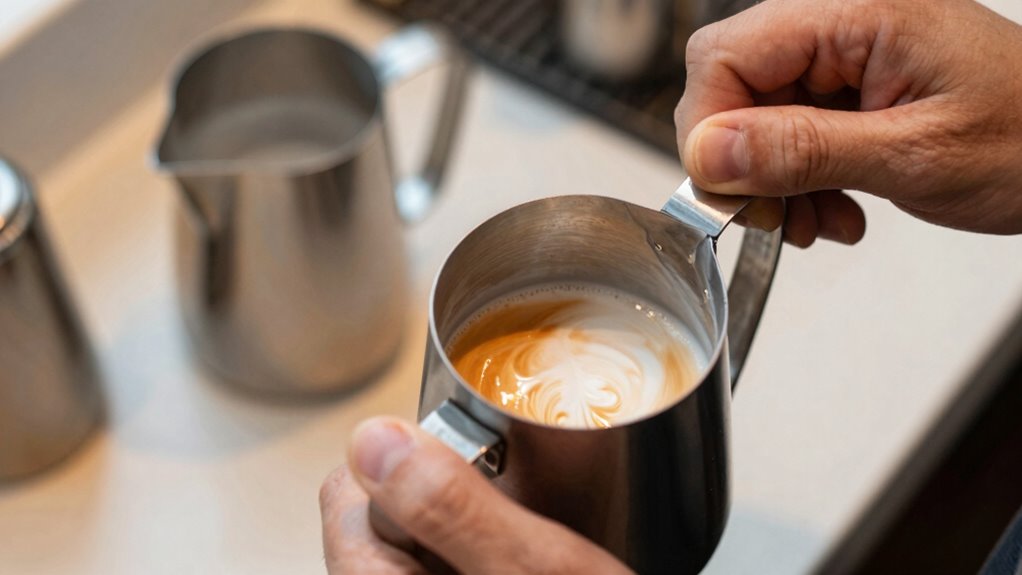
How to Steam Milk to Achieve a Velvety Texture
Achieving a velvety milk texture requires more than just heating the milk; it involves carefully controlling the steam wand to incorporate the right amount of air and heat. You want smooth, glossy milk without large bubbles, which means introducing microfoam. If you have milk allergies or prefer alternative milk, note that some varieties may froth differently and require adjustments. Use these tips:
| Milk Type | Frothing Tip | Notes |
|---|---|---|
| Cow’s milk | Introduce air early, then submerge | Classic latte texture |
| Almond milk | Froth gently, avoid overheating | May need extra agitation |
| Oat milk | Heat slowly, create fine bubbles | Usually yields velvety foam |
Temperature should reach about 150°F (65°C) for perfect microfoam. Understanding the importance of milk type can help you create a fun and safe environment while enjoying your latte art skills at home.

Amrules Milk Frothing Pitcher, 12oz Milk Frother Cup with Clear Scale, 304 Stainless Steel Cappuccino Espresso Machine Accessories for Barista Coffee Bar with Latte Art Pen, Silver
304 STAINLESS STEEL: Amrules 12oz creamer pitcher are crafted of 18/8 food grade stainless steel. The pitcher features…
As an affiliate, we earn on qualifying purchases.
As an affiliate, we earn on qualifying purchases.
Pour and Swirl to Create Stunning Latte Art Patterns
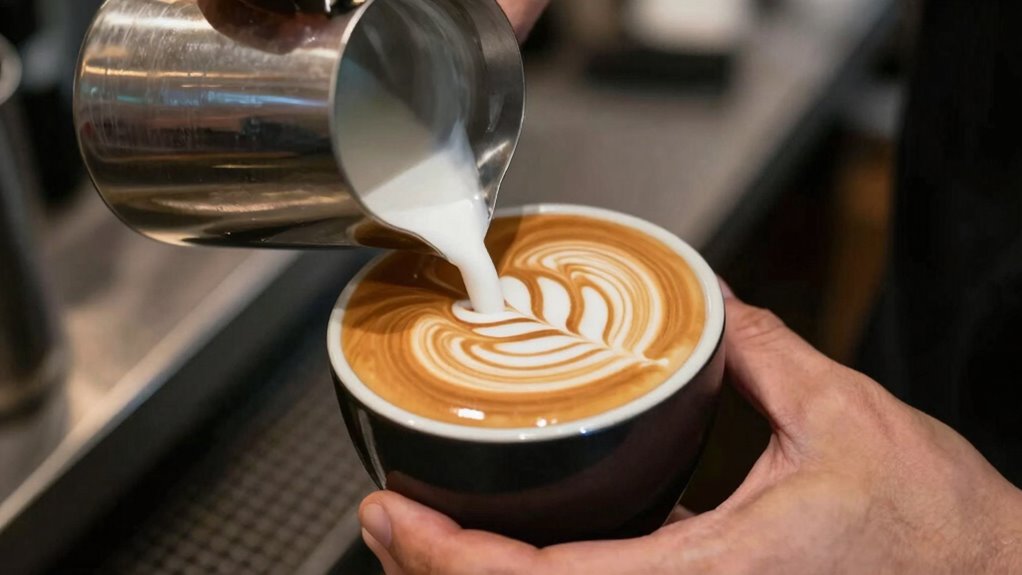
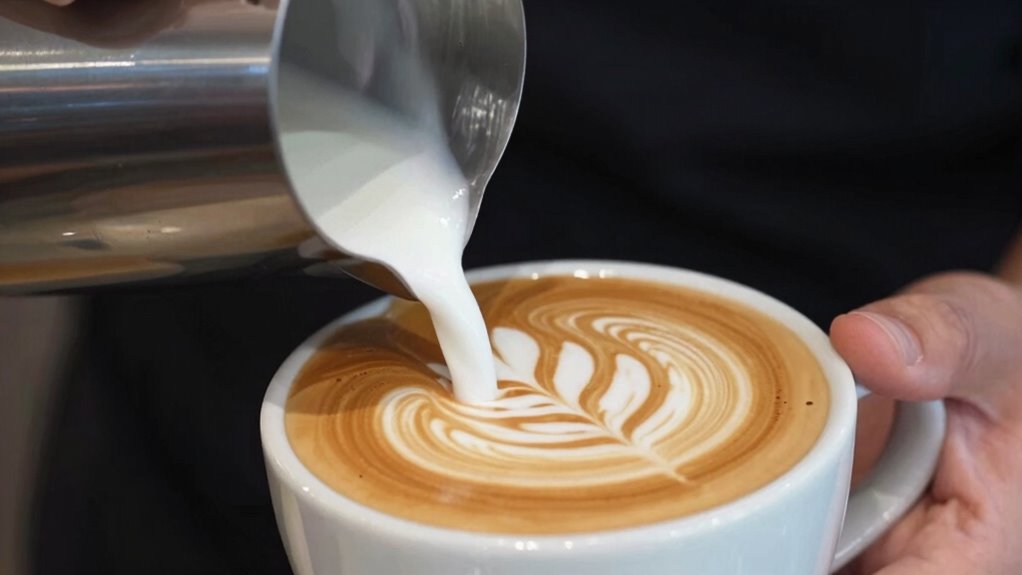
Once your milk has been steamed to silky microfoam, pouring and swirling are key steps to transforming a simple cup of coffee into a work of art. Use creative pouring techniques to control the flow of milk, starting with a steady pour to form a base. As you pour, gently swirl the cup to guide the milk into specific patterns, such as hearts or rosettas, inspired by historical latte art styles. Keep your hand steady and adjust the angle to create contrast and definition. Practicing with safety in mind can help prevent spills and accidents during this process. Practice different swirl motions to develop your signature design. Remember, the key is fluidity and confidence. With consistent practice, you’ll master the art of pouring and swirling, turning each latte into a stunning visual experience. Understanding coffee gear selection can also enhance your latte art journey by ensuring you have the right tools for optimal results.
Troubleshooting Common Latte Art Swirling Mistakes
Even experienced baristas encounter common mistakes when swirling latte art, which can disrupt the flow and clarity of your design. One frequent issue is poor color contrast, making the pattern hard to see. To fix this, guarantee your milk is properly textured and poured at the right height, creating a distinct contrast between the espresso and foam. Additionally, your pouring technique matters; pouring too quickly or from too high can cause the milk to blend unevenly, ruining the swirl. Focus on steady, controlled motions, and adjust your angle to maintain clear separation of colors. Continuous training and practice improves your swirling accuracy and overall technique. Incorporating passive voice detection can also help refine your descriptive language, making your instructions clearer. Practice consistent pouring speed and angle, and observe how these tweaks improve your swirling accuracy. With patience, mastering these adjustments will enhance your latte art’s sharpness and visual impact. Furthermore, early socialization and training can lead to a more confident and steady hand when working on intricate designs. Remember, just as in creating eco-friendly natural pools, attention to detail is key in achieving the best results.
Frequently Asked Questions
Can I Use Non-Dairy Milk for Latte Art Swirling?
Yes, you can use non-dairy milk for latte art swirling. Dairy alternatives like almond, oat, or soy milk work well if you adapt your frothing techniques, as they may foam differently than dairy milk. To achieve good swirl patterns, focus on proper steaming and frothing, ensuring the milk’s texture is smooth and velvety. Practice makes perfect, so experiment with different non-dairy options to find what works best for you.
What’s the Ideal Temperature for Steaming Milk for Swirling?
You want your milk to hit that perfect steaming temperature, around 140-150°F, for the ultimate swirl! Overheating turns your silky milk into a scorched mess, ruining your latte art dreams. Follow milk frothing techniques and steaming temperature guidelines precisely—steam until your thermometer hits that sweet spot. This magic temperature transforms your milk into luscious, glossy foam, making swirling effortless and mesmerizing. Get steaming, and watch your latte art come alive!
How Does Milk Fat Content Affect Swirling and Latte Art Quality?
Higher milk fat content increases milk viscosity, making it thicker and easier to create stable foam, which enhances foam stability for latte art. Conversely, low-fat or skim milk produces thinner milk, resulting in less stable foam that struggles to hold intricate designs. For ideal swirling and latte art quality, choose milk with moderate fat content, as it provides the right balance of viscosity and foam stability, giving your designs better definition and durability.
Are There Specific Techniques for Swirling in Different Cup Shapes?
You can’t just swirl milk in any cup and expect perfect latte art—each cup shape demands its own mastery. For wide, shallow cups, use gentle, sweeping motions to create broad, flowing patterns. Tall, narrow cups call for more controlled, upward swirling to maintain shape. Adjust your swirling techniques based on cup shape variations, emphasizing finesse and precision. Mastering these differences transforms your latte art from simple to stunning, no matter the vessel.
How Long Should I Practice to Master Latte Art Swirling?
You should practice latte art swirling consistently for at least a few weeks to see real progress. Focus on achieving the right milk texture—smooth and glossy—and controlling your swirling speed to create clean patterns. With regular practice, you’ll develop muscle memory and better control over your movements. Keep experimenting and refining your technique, and you’ll master swirling for beautiful latte art faster than you might expect.
Conclusion
Mastering milk swirling makes mesmerizing latte art manageable. With practice, patience, and proper techniques, you’ll perfect patterns that impress and inspire. Don’t delay—diligently develop your dexterity, and delight in the dance of designing dazzling designs. Immerse yourself in the delightful world of latte art, and discover the dynamic difference of dedicated practice. Your next cup could be your best creation yet—so swirl, skill, and serve with style!