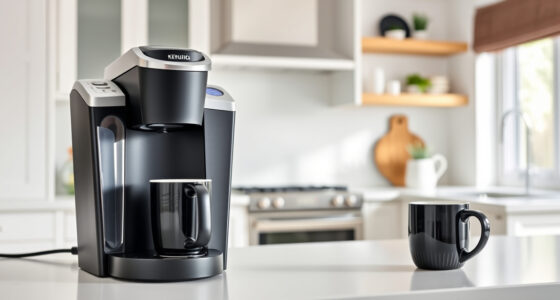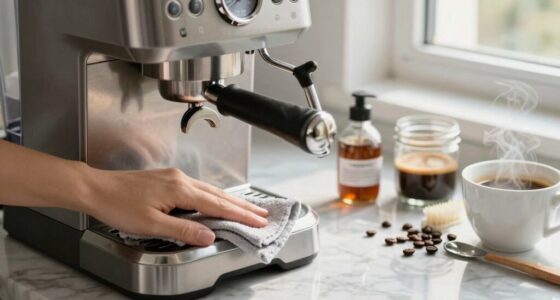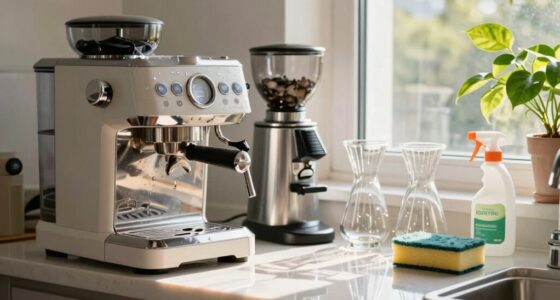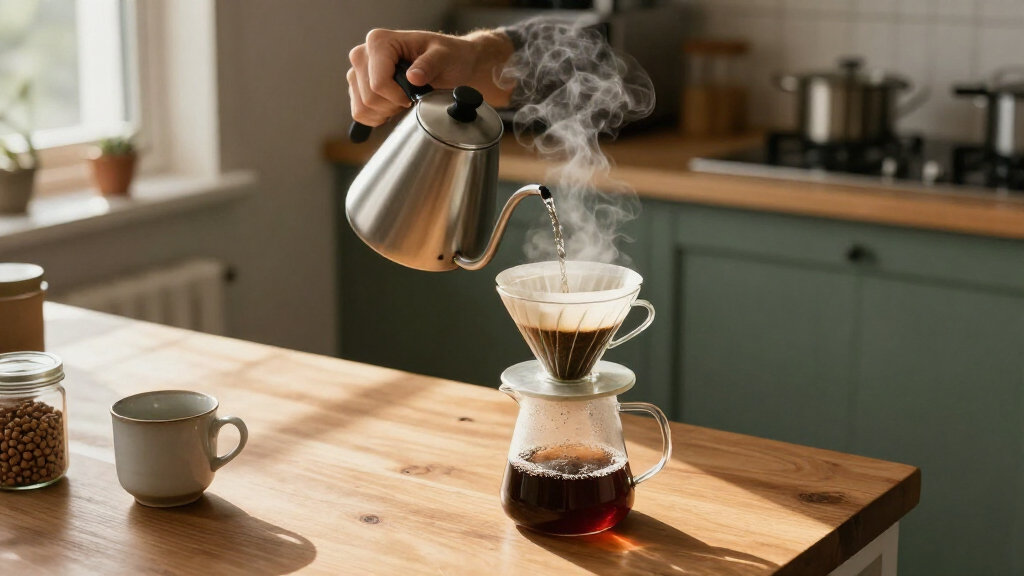

Use this guide to choose and use the accessories that help you brew a consistent cup of coffee at home. It is for beginners setting up a simple manual or automatic coffee routine, with steps for measuring, brewing, and cleaning. Allow 15–30 minutes for the first setup and brew; daily use usually takes less time.

Get coffee and tea gear delivered free with Prime
- Fast, free delivery on millions of items
- Prime Video, Amazon Music and more included
- Member-only deals all year

BOOKOO Themis Mini Precision Coffee Scale
- ✔ Capacity: 1,000 g
- ✔ Readout accuracy: 0.1 g
- ✔ Flow tracking: 0.1 g/s

MiiCoffee Minipress Coffee Scale with Auto Timer
- ✔ Dimensions: 3.6 x 3.4 x 0.6 in (92 x 88 x 14 mm)
- ✔ Weight: 7 oz
- ✔ Maximum capacity: 2 kg

Savepod Unbleached Coffee Filters, Burst-Resistant, 100 Count
- ✔ Material: Unbleached paper
- ✔ Quantity: 100 filters
- ✔ Compatibility: Reusable K-Cup pods and Savepod systems
Difficulty: Beginner | Time: 15–30 minutes
What You’ll Need
Tools & Materials:
- Coffee maker or brewing device, such as a drip machine, pour-over cone, or French press
- Coffee grinder, or pre-ground coffee
- Digital kitchen scale or measuring spoon
- Kettle or access to hot water
- Brewing filter that fits your device, if required
- Mug or carafe
- Clean water and coffee
Knowledge:
- Basic ability to heat water and operate the chosen coffee maker
- A way to identify the coffee maker’s filter size or brewing capacity
Start with accessories that fit the brewer you already own. A scale and a suitable grinder are useful upgrades, but you can begin with pre-ground coffee and a measuring spoon. Check the brewer manual for filter type, maximum fill level, and cleaning instructions. Keep hot water away from children and use a stable, heat-safe surface.
BOOKOO Themis Mini Precision Coffee Scale
The Themis Mini is the strongest choice when a scale needs to do more than show weight. Its 0.1 g precision and real-time flow tracking can help espresso brewers follow how quickly a shot is being pulled, while three modes let the scale adapt to different coffee workflows. Bluetooth adds a connection option that the MiiCoffee scale does not list, making this the more technology-forward pick in the group.Its mini form factor is designed to fit under espresso machines, where a full-size scale can be awkward. The tradeoff is a 1,000 g maximum capacity, half of MiiCoffee’s stated 2 kg limit. That is less flexible for weighing larger containers or batches. The front surface is described as water-resistant, but the available details do not claim that the whole unit is protected from water. We’d choose BOOKOO for shot analysis and compact placement, and MiiCoffee for greater capacity or a simpler timer-led routine.
Pros:
- 0.1 g readout accuracy with flow tracking in 0.1 g/s increments
- Three brewing modes support different coffee workflows
- Bluetooth connectivity adds a feature absent from the MiiCoffee listing
- Compact body and water-resistant front surface suit espresso-counter use
Cons:
- 1,000 g capacity is lower than MiiCoffee’s 2 kg maximum
- Water resistance is specified only for the front surface
- Requires periodic charging despite the stated long battery life
Best for: Espresso brewers who want compact 0.1 g weighing plus real-time flow tracking and Bluetooth.
Not ideal for: Buyers who regularly weigh loads above 1,000 g or need stated water resistance across the entire scale.
Bottom line: We rank BOOKOO first for brewers who value flow insight and adaptable modes in a compact espresso scale.
“We rank BOOKOO first for brewers who value flow insight and adaptable modes in a compact espresso scale.”
MiiCoffee Minipress Coffee Scale with Auto Timer
MiiCoffee is the more straightforward all-rounder for people who move between espresso and pour-over. Its 2 kg capacity gives it twice the weighing range of BOOKOO, while its dedicated espresso and pour-over timer modes cover the needs named in its feature set. That makes it a useful choice when higher capacity and clear timing matter more than flow-rate tracking or Bluetooth.At 3.6 by 3.4 inches and 7 ounces, this scale is built for tight counter space and is described as small enough to fit beneath espresso machines. The aluminum body and reinforced glass top give it a different material mix from BOOKOO’s alloy-steel specification, and an included silicone pad helps with heat insulation. The compact surface can limit the size of a carafe or other vessel, however, and its 800 mAh battery still needs USB-C recharging. Compared with BOOKOO, MiiCoffee offers more capacity and specified timer modes, but fewer advanced tracking features.
Pros:
- 2 kg maximum capacity with 0.1 g precision
- Separate espresso and pour-over timer modes
- Compact 3.6 x 3.4 inch body is designed for tight espresso setups
- Includes a silicone pad and USB-C charging cable
Cons:
- Small weighing surface may not accommodate larger vessels
- Battery requires recharging over USB-C
- Does not list BOOKOO’s flow tracking or Bluetooth connectivity
Best for: Home brewers who want one compact scale for espresso and pour-over, with a 2 kg capacity.
Not ideal for: Anyone who needs a larger weighing platform, flow-rate tracking, or a scale with no rechargeable-battery routine.
Bottom line: We recommend MiiCoffee for brewers who want greater capacity and useful timer modes without needing advanced shot tracking.
“We recommend MiiCoffee for brewers who want greater capacity and useful timer modes without needing advanced shot tracking.”
Savepod Unbleached Coffee Filters, Burst-Resistant, 100 Count
Savepod takes a different route from the two scales: it helps manage used grounds rather than measure a brew. These unbleached paper filters fit compatible reusable K-Cup pods and Savepod systems, allowing the grounds and filter to be removed together after brewing. For a single-serve user who likes filling a reusable pod but dislikes emptying it afterward, that small change may make cleanup more convenient.The fit requirement is the deciding factor. Savepod lists compatibility with K-Cup 1.0, K-Cup 2.0, and K Supreme brewers, but the filters still require a compatible reusable pod or Savepod ring. They are not a standalone accessory for every coffee maker, and each filter is disposable. Compared with the scales, they do nothing to improve weighing or timing; compared with reusable-pod brewing without a liner, they add a consumable while making grounds removal easier. We’d choose them only when cleanup is the specific friction point and the brewer setup matches.
Pros:
- Designed to make removing used grounds easier
- Unbleached paper construction
- Burst-resistant design is intended for pod brewing
- Compatible with listed K-Cup 1.0, K-Cup 2.0, and K Supreme brewers when paired with a reusable pod
Cons:
- Requires a compatible reusable pod or Savepod ring
- Disposable filters need replacement after brewing
- Does not add measurement or timer control like either scale
Best for: Single-serve coffee drinkers with a compatible reusable K-Cup pod or Savepod ring who want simpler grounds cleanup.
Not ideal for: Owners of drip, espresso, or single-serve brewers without a compatible reusable pod setup, and buyers seeking a reusable accessory.
Bottom line: We’d pick Savepod for compatible reusable-pod users whose main goal is quicker grounds cleanup.
“We’d pick Savepod for compatible reusable-pod users whose main goal is quicker grounds cleanup.”
As an Amazon Associate we earn from qualifying purchases.
Before You Start
Set out only the accessories needed for your brewing method. Paper filters, reusable metal filters, and brewer parts are not always interchangeable. If you are buying accessories, confirm the brewer model, filter size, and grinder setting range before ordering. Rinse new reusable parts according to their care instructions, and do not put electrical components in water.
For a starting ratio, measure about 1 gram of coffee for every 15–17 grams of water. For one 250 ml cup, try 15–17 grams of coffee. Treat this as a starting point: taste and adjust after brewing.
Step-by-Step Instructions
Step 1: Choose accessories that fit your brewer
Read the brewer label or manual and identify its method, capacity, and filter requirement. Select a matching filter, a mug or carafe large enough for the finished brew, and a scale or measuring spoon. If you want freshly ground coffee, choose a grinder suited to your brew method; a burr grinder generally provides more even grounds than a blade grinder.
Tip:For a basic setup, prioritize a compatible filter and a reliable way to measure coffee. Add a grinder or gooseneck kettle only if your routine calls for them.
Check: Each accessory fits the brewer, and the mug or carafe can hold the amount you plan to make.
Step 2: Prepare the brewer and filter
Place the brewer on a stable, heat-safe surface. Insert the correct filter, if your method uses one. Rinse a paper filter with hot water when appropriate for the brewer; this helps it sit in place and can reduce papery taste. Empty the rinse water before adding coffee. For a reusable filter, check that it is clean and seated correctly.
Tip:Do not use a paper filter that is folded incorrectly or too large for the basket; it can collapse or block water flow.
Check: The filter sits flat and securely, and the empty brewer is ready to receive coffee.
Step 3: Measure coffee and water
Put the scale on a level surface and place the dry filter or brewing vessel on it. Press tare to reset the reading to zero. Add 15–17 grams of coffee for each 250 ml of water, or use your brewer’s marked capacity and a consistent scoop measure. Measure fresh water separately or add it to the brewer’s reservoir according to the manual.
Tip:Keep notes on your coffee amount and water volume. Changing one measurement at a time makes it easier to adjust the taste.
Check: You have recorded or can repeat the same coffee-to-water amounts for the next brew.
Step 4: Grind the coffee if needed
Grind whole beans shortly before brewing. Start with a medium grind for most drip and pour-over brewers; use a coarser grind for a French press. Follow your grinder’s manual to set the grind and keep fingers clear of moving parts. If you use pre-ground coffee, skip this step and use coffee intended for your brewer where possible.
Tip:Very fine grounds can slow water flow and create a bitter cup; very coarse grounds can make coffee taste weak or sour. Adjust the grind in small increments.
Check: The grounds are reasonably even and suit the brewing method, with no large clumps or obvious excess powder.
Step 5: Add coffee and brew
Pour the measured grounds into the filter or brewing chamber and level them gently. Add hot water or start the machine as directed by its instructions. For pour-over brewing, wet the grounds evenly in a slow, controlled pour; avoid pouring directly onto the filter walls. For an automatic machine or immersion brewer, follow its fill lines and brewing directions.
Tip:Use water that is hot but not vigorously boiling for manual brewing. Handle the kettle by its grip and pour over the sink or a clear counter area.
Check: The water passes through or steeps without overflowing, and the brewer finishes its cycle without leaks.
Step 6: Taste and adjust one variable
Let the coffee finish dripping or steeping, then pour a cup. Taste it before adding milk, sugar, or other additions. If it tastes too weak or sour, use slightly more coffee or a finer grind next time. If it tastes harsh or bitter, use slightly less coffee or a coarser grind. Change one variable per brew so you can tell what improved the result.
Tip:Write down the coffee, grind setting, dose, water amount, and any change you make. Different beans can need different settings.
Check: You have a repeatable starting recipe and know which single adjustment to try if the flavor needs improvement.
Step 7: Clean and store the accessories
Discard used grounds and paper filters. Rinse reusable filters, carafes, and removable brewer parts as soon as they are cool enough to handle. Wash parts using the method recommended by the manufacturer, then let them dry fully before storage. Wipe the grinder’s exterior and clean its grounds container; use the grinder manual for deeper cleaning.
Tip:Do not leave wet grounds or coffee residue in the brewer. Oils build up over time and can give later cups a stale taste.
Check: Removable parts are free of visible grounds and residue, dry before storage, and the counter is clear of spills.
Common Mistakes to Avoid
- Buying a filter that does not fit the brewer. — Check the machine model, basket shape, and filter size before buying; confirm that reusable filters are approved for that brewer.
- Changing coffee dose, grind, and water amount all at once. — Record the current recipe and adjust one variable per brew so you can identify what changed the taste.
- Using an inconsistent scoop or filling past the brewer’s limit. — Use a scale when available, follow the brewer’s fill marks, and keep coffee and water measurements consistent.
- Putting a wet or dirty reusable accessory away. — Rinse and wash it after brewing, then let it dry completely to reduce residue and stale odors.
Troubleshooting
Problem: Coffee tastes weak or watery.
Solution: Confirm that the water volume is not above the measured amount. Use a little more coffee or a slightly finer grind on the next brew, changing only one at a time.
Problem: Coffee tastes bitter or harsh.
Solution: Use a little less coffee or a slightly coarser grind. Check that the filter is not clogged and that the grounds are not steeping longer than the brewer’s instructions recommend.
Problem: Water drains very slowly or overflows.
Solution: Check that the filter is seated and not folded over the outlet. Use a coarser grind, avoid overfilling the basket, and clean any blocked parts after the brewer cools.
Problem: The cup has a papery or stale flavor.
Solution: Rinse a paper filter with hot water before brewing when suitable for your method. For reusable parts, wash away coffee oils and let them dry fully; replace old coffee with fresh beans or grounds.
What Success Looks Like
Your accessories fit the brewer, the filter stays in place, and the coffee brews without leaking or overflowing. You can repeat the recipe using measured coffee and water, adjust one variable based on taste, and leave clean, dry accessories ready for the next brew.
Next Steps
Keep a short brew log with the coffee name, dose, water amount, grind setting, and taste. Use it to repeat cups you like and to adjust when you open a new bag. Wash reusable parts after use and follow the brewer’s schedule for descaling or deeper cleaning. Replace worn filters or damaged accessories with parts that match the brewer.
Frequently Asked Questions
Do I need a scale to brew coffee?
No. A measuring spoon can work if you use the same spoon and filling method each time. A scale makes it easier to repeat a recipe and adjust the coffee-to-water ratio.
Which accessories should I buy first?
Start with the brewer’s correct filter and a mug or carafe. Add a scale for consistent measurements. A grinder is useful if you buy whole beans; choose one with settings suitable for your brewing method.
Can I use the same grind for every brewing method?
Usually not. Drip and pour-over methods often work with medium grounds, while French press commonly uses coarser grounds. Start with the grinder or brewer guidance, then make small adjustments based on flow and taste.
How often should I clean coffee accessories?
Rinse or wash parts that contact coffee after each use, following the manufacturer’s care directions. Clean grinder parts and descale the brewer at the intervals stated in their manuals or sooner if buildup affects brewing.