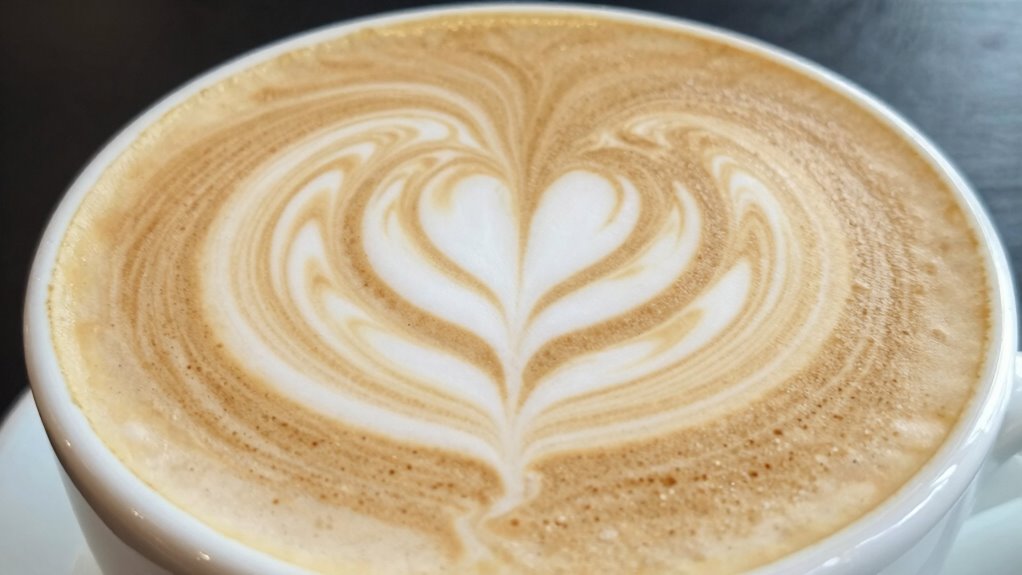

Getting started with latte art, especially the heart design, can feel overwhelming, but it doesn’t have to be. You’ll need essential tools like an espresso machine and quality milk, plus mastering milk frothing techniques. Practice pouring from different heights and angles to create that perfect shape. Don’t worry about mistakes; they’re part of learning! With the right guidance and patience, you’ll refine your skills and impress everyone with stunning designs. There’s so much more to explore!
Key Takeaways
- Start with essential tools like an espresso machine, quality milk, and a steam wand for successful latte art creation.
- Master milk frothing techniques, focusing on temperature and texture to achieve velvety microfoam.
- Use proper pouring techniques, beginning from a height and lowering the pitcher to form a heart shape.
- Troubleshoot common issues, such as milk temperature and pour pressure, to refine your heart design.
- Engage with the latte art community for inspiration, support, and shared experiences through collaborative projects and user-generated content.
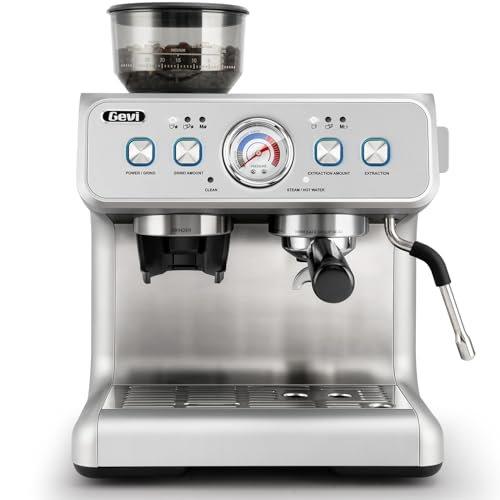
Gevi Dual Boiler Espresso Machine with Built-in Grinder, 58mm Commercial Portafilter, Barista Steam Wand, 31 Grind Settings, Stainless Steel, for Home Barista Use, Sterling Silver
𝐏𝐨𝐰𝐞𝐫𝐟𝐮𝐥 𝐚𝐧𝐝 𝐬𝐭𝐚𝐛𝐥𝐞 𝐏𝐫𝐞𝐬𝐬𝐮𝐫𝐞 𝐒𝐲𝐬𝐭𝐞𝐦 - Gevi espresso machine's high-pressure system expertly manages the flow of water, forcing...
As an affiliate, we earn on qualifying purchases.
What You Need to Start Your Latte Art Journey
To create beautiful latte art, you’ll need a few essential tools and ingredients. First, invest in a quality espresso machine; the espresso quality plays a vital role in your art. A consistent shot provides the rich base you need. Next, choose a good milk—whole milk works best for achieving that perfect milk texture. You’ll also want a steam wand for frothing, and a thermometer to help you heat the milk to the right temperature. Don’t forget a milk frothing pitcher with a spout; it’ll help you pour with precision. Finally, grab a few tools like a tamper and a scale to guarantee your coffee measurements are spot on. With these essentials, you’re ready to begin your latte art journey!

Breville Dynamic Duo Dual Boiler Espresso Machine and Smart Grinder Pro Package, Stainless Steel - BEP920BSS
Experience third wave specialty coffee at home, made possible by the 4 keys formula Our espresso machines are...
As an affiliate, we earn on qualifying purchases.
Froth Your Milk Like a Pro
With your tools in hand, it’s time to master the art of frothing milk. Achieving the perfect froth is essential for latte art, and here’s how to get it right:
- Choose Your Milk Types: Whole milk creates a creamy texture, while alternatives like oat or almond offer unique flavors. Different types of milk can dramatically affect your latte art results, so choose wisely. The fat content in your milk also plays a significant role in achieving the desired foam consistency. Additionally, understanding the mechanics of French press can enhance your overall coffee experience. For eco-conscious enthusiasts, opting for sustainable milk alternatives can make a positive impact.
- Focus on Frothing Temperature: Aim for around 150°F (65°C) to guarantee ideal milk aeration and foam stability without scalding.
- Adjust Your Frothing Speed: Start slow to introduce air, then increase speed for frothing consistency.
Using a steam wand and frothing pitcher, control the milk texture for that beautiful latte contrast. Additionally, investing in quality cooking gear can enhance your frothing experience. Remember, practice makes perfect, so don’t hesitate to experiment until you find your ideal froth!
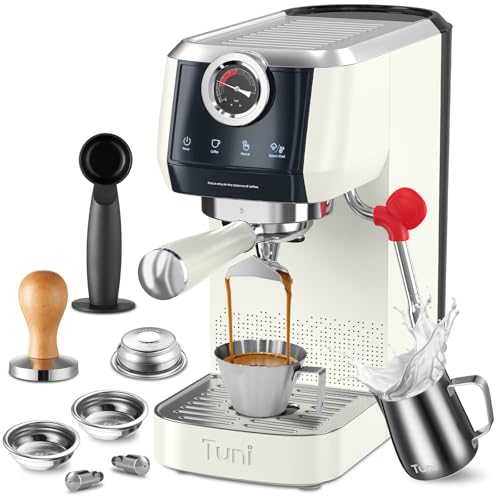
Tuni E2 58mm Espresso Machine - Dual Boiler (Immediate Milk Frothing) | PID NTC Temp Control | 20 Bar ULKA Pump | Stainless Steel Semi-Automatic Coffee Maker | Gift for Coffee Lovers
[Package Includes & Care] - Espresso Machine*1, 𝟐 𝐅𝐢𝐥𝐭𝐞𝐫 𝐁𝐚𝐬𝐤𝐞𝐭𝐬(𝐒𝐢𝐧𝐠𝐥𝐞 𝐖𝐚𝐥𝐥, 𝐍𝐨𝐧-𝐩𝐫𝐞𝐬𝐬𝐮𝐫𝐢𝐳𝐞𝐝), 𝟏 𝐃𝐨𝐮𝐛𝐥𝐞 𝐒𝐡𝐨𝐭 𝐁𝐚𝐬𝐤𝐞𝐭 (𝐃𝐮𝐚𝐥 𝐖𝐚𝐥𝐥,...
As an affiliate, we earn on qualifying purchases.
Choosing the Right Espresso for Latte Art
Certainly! Here’s your revised content with the requested adjustments:
—
While you might think any espresso will do for latte art, choosing the right one can make a significant difference in flavor and texture. Start by selecting high-quality espresso blends that complement your milk. Look for blends known for their sweetness and balance, as they enhance your latte’s overall taste. Bean freshness is vital; always opt for freshly roasted beans. Stale beans can lead to bitter flavors, ruining your latte art experience. When grinding, aim for a fine consistency to guarantee proper extraction. Additionally, diversification in your espresso choices can enhance your overall coffee experience. Experimenting with different blends will help you discover which flavors work best with your specific milk. Ultimately, the right espresso elevates your latte art and brings out rich, delightful flavors you’ll enjoy with every sip. Additionally, consider using carry-ons with compression for easy transport of your espresso gear while traveling. A well-chosen espresso can also improve your extraction process, making your shots more flavorful and vibrant. Understanding the importance of water quality can further enhance your brewing process, ensuring that each cup tastes its best. Furthermore, using dryer balls can optimize your laundry routine, making it easier to maintain fresh and clean espresso gear.
—
Let me know if you need any further adjustments!

MAttinata CM1833L Automatic Cappuccino Machine, 20 Bar Espresso Maker with Dual Boiler & Self-Cleaning Milk Frother, Touch Screen Coffee Machine for Latte, Stainless Steel Home and Office, Silver
Professional Dual Boiler System for Barista-Quality Coffee: This semi-automatic espresso machine features a 1350W brewing boiler and 1300W...
As an affiliate, we earn on qualifying purchases.
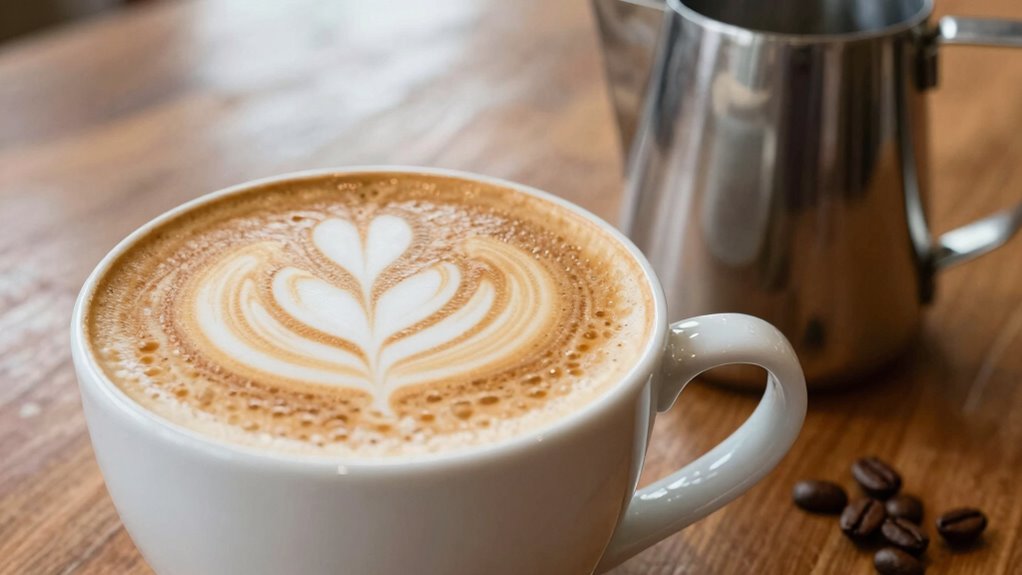
The Essential Tools for Pouring Latte Art
To create stunning latte art, you’ll need the right tools in your arsenal. Start with an essential equipment checklist, choose the right milk for perfect texture, and master your pouring techniques. These elements are vital for transforming your coffee into a work of art.
Essential Equipment Checklist
Sure! Here’s your revised content with the requested addition:
—
Creating stunning latte art requires the right tools, making an essential equipment checklist significant for beginners. To get started, you’ll need to focus on these key items:
- Espresso Machine: A quality machine will guarantee accurate coffee bean selection and ideal extraction for rich flavor. Investing in an espresso machine enhances your ability to brew high-quality coffee that serves as a perfect base for latte art. Additionally, using smart kitchen tools can streamline your brewing process and elevate your coffee experience. Employing AI technology in your espresso machine can further enhance your brewing consistency and flavor extraction. Furthermore, understanding diversification strategies can help you balance your investments in coffee and other areas.
- Milk Frother: A good frother helps you achieve the perfect milk temperature, crucial for creating that velvety microfoam.
- Pitcher: A stainless steel pitcher with a spout allows for precise pouring, necessary for shaping your latte art.
With these tools in hand, you’ll set yourself up for success. Don’t underestimate the importance of each item—mastering latte art starts with having the right equipment! Additionally, understanding safe movement basics can enhance your overall experience and efficiency while creating artful designs.
Choosing The Right Milk
Choosing The Right Milk (The Essential Tools for Pouring Latte Art)
Choosing the right milk is essential for achieving that perfect microfoam crucial for latte art. Different milk types, like whole, skim, or dairy alternatives, affect frothing temperatures and milk texture. Whole milk typically creates a creamier, more stable foam due to its higher fat content, while skim milk can produce a lighter foam that lacks stability. Dairy alternatives, such as oat or almond milk, vary in foam stability and flavor profiles, so experiment to find what suits your taste. Understanding milk science helps you recognize how milk quality influences the final outcome. Aim for a silky texture that holds its shape, allowing your latte art to shine. Additionally, air quality considerations like humidity can influence how well your milk froths, as high humidity levels can lead to a less stable foam. With practice, you’ll master the art of foam and flavor! Additionally, knowing kitchen science will enhance your ability to create consistently great textures in your latte art. Incorporating ergonomic principles can also improve your pouring technique, enhancing comfort during the process. A thorough understanding of foam stability factors can significantly impact your frothing success.
Pouring Techniques Explained
Mastering pouring techniques is key to transforming your espresso into a stunning work of art. Understanding the essentials can elevate your skills and connect you to the rich latte art history. Here are three essential elements to focus on:
- Milk Texture: Achieve that velvety microfoam for perfect pouring.
- Pouring Angles: Experiment with different angles—start close to the cup for the base, then rise to create patterns.
- Speed Control: Adjust your pouring speed to influence the design’s sharpness and flow.
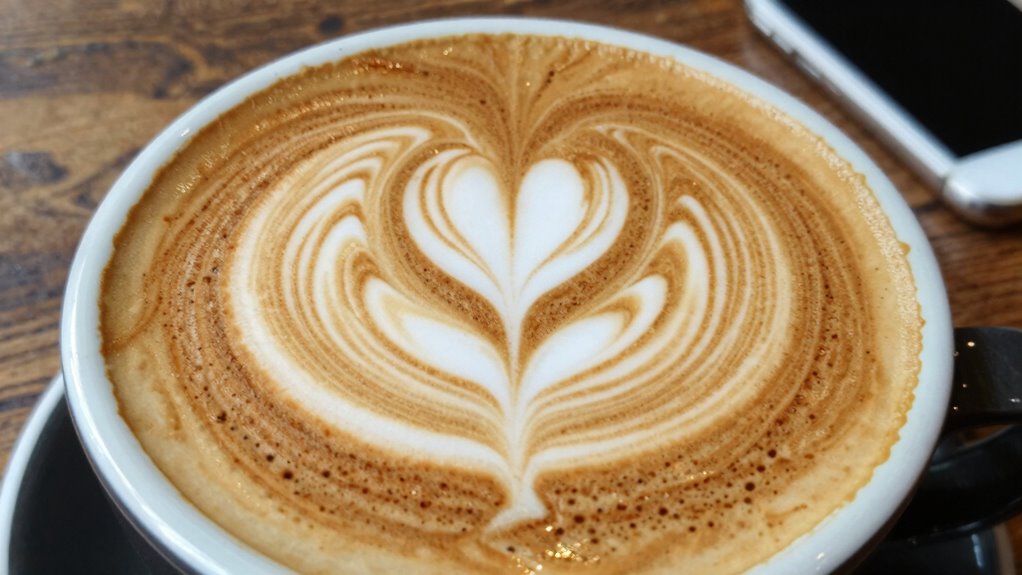
Step-by-Step Guide: Pouring a Heart Design
Now that you’ve got your essential tools ready, it’s time to focus on pouring a heart design. You’ll want to master milk frothing techniques to achieve that perfect texture. Let’s break down the pouring method so you can create a beautiful heart with confidence.
Essential Tools Needed
To create beautiful heart designs in your lattes, you’ll need a few essential tools that make the process smooth and enjoyable. Having the right equipment guarantees your milk texturing is on point and your pouring consistency is just right. Here’s what you should have:
- Steam Wand: This is vital for achieving the perfect microfoam, essential for texturing milk. Proper pre-soaking techniques can also enhance the consistency of your milk, allowing for better incorporation of air bubbles, which is essential in both latte art and health monitoring. Additionally, maintaining a clean steam wand helps prevent any bacteria buildup that could affect the quality of your milk. Regularly checking your filtration system can also ensure that the steam wand operates efficiently.
- Milk Pitcher: A narrow spout helps with precision when pouring your heart design, allowing for better control.
- Thermometer: Keeping an eye on milk temperature guarantees you get that silky texture without scalding. Using the right milk texturing techniques can further enhance your latte art skills.
With these tools in hand, you’ll be well on your way to mastering latte art and impressing your friends!
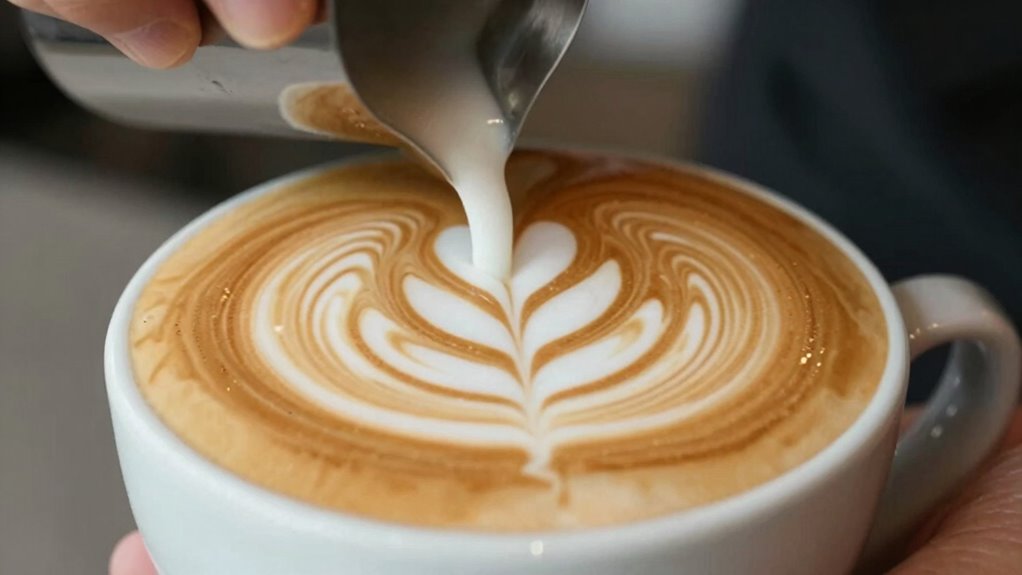
Milk Frothing Techniques
Creating a stunning heart design in your latte involves a few key techniques for frothing milk. Start by selecting the right milk types—whole milk creates a creamier texture, while alternatives like oat milk offer unique flavors. Use a frothing pitcher to steam your milk, ensuring you maintain proper steam pressure. Aim for a milk temperature around 150°F for ideal frothing. Employ various frothing techniques to achieve desired texture variation; you want silky microfoam consistency for the perfect latte density. Remember to position the steam wand just below the surface to incorporate air gradually. Mastering these steps will elevate your frothing skills, setting the stage for that beautiful heart design you’re aiming for. Enjoy the process!
Pouring Method Explained
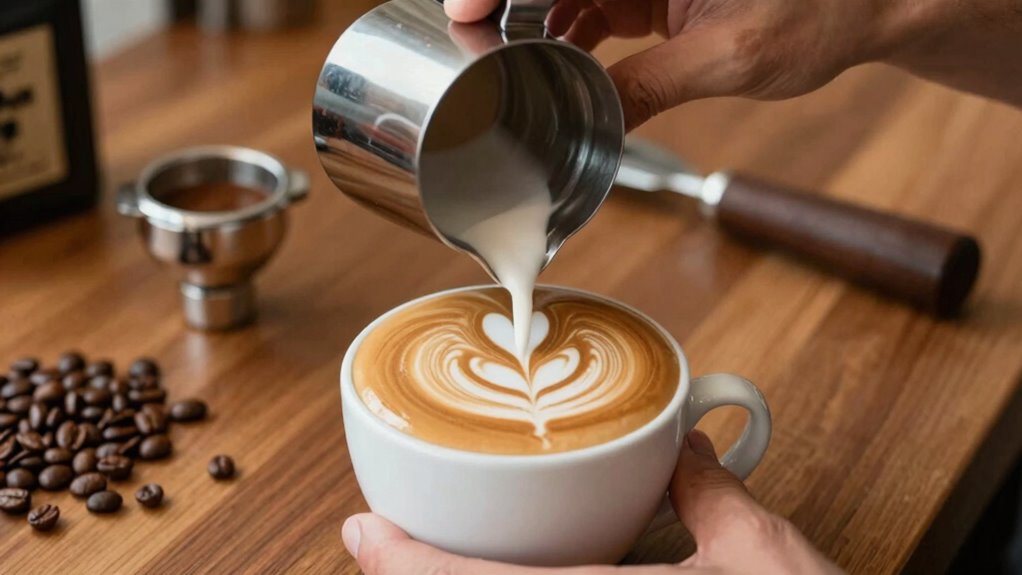
While mastering the pouring method can seem intimidating, it’s all about practice and technique. Understanding the latte art history helps you appreciate the craft, but focusing on the milk texture is essential for a beautiful heart design. Follow these steps for success:
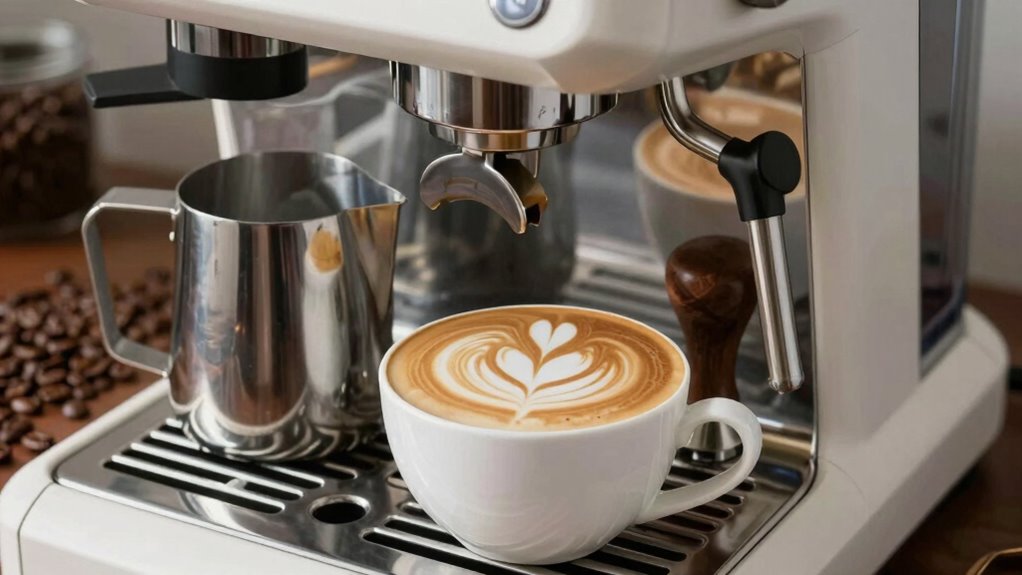
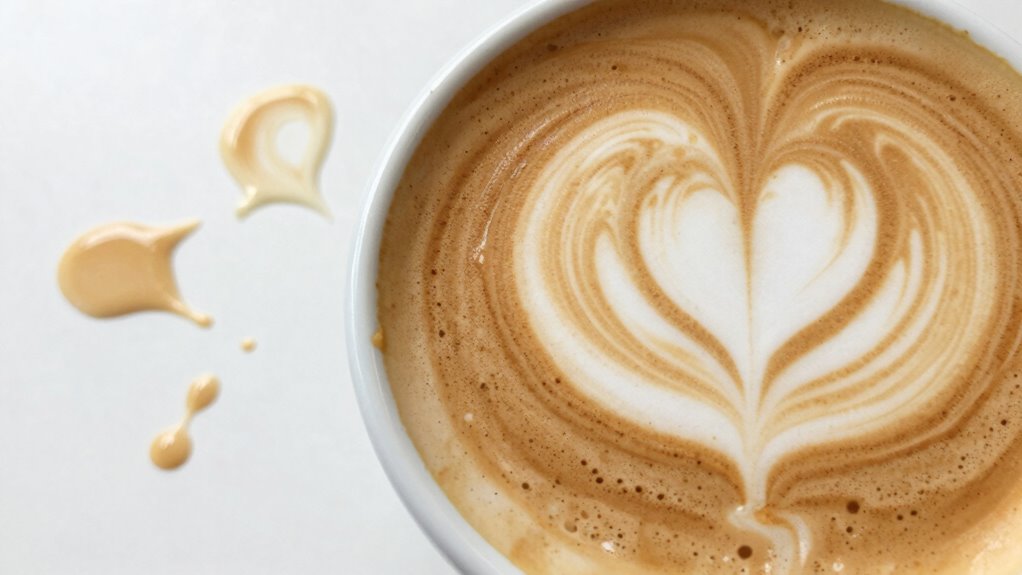
- Start with the right cup: Choose a wide, white cup to showcase your art.
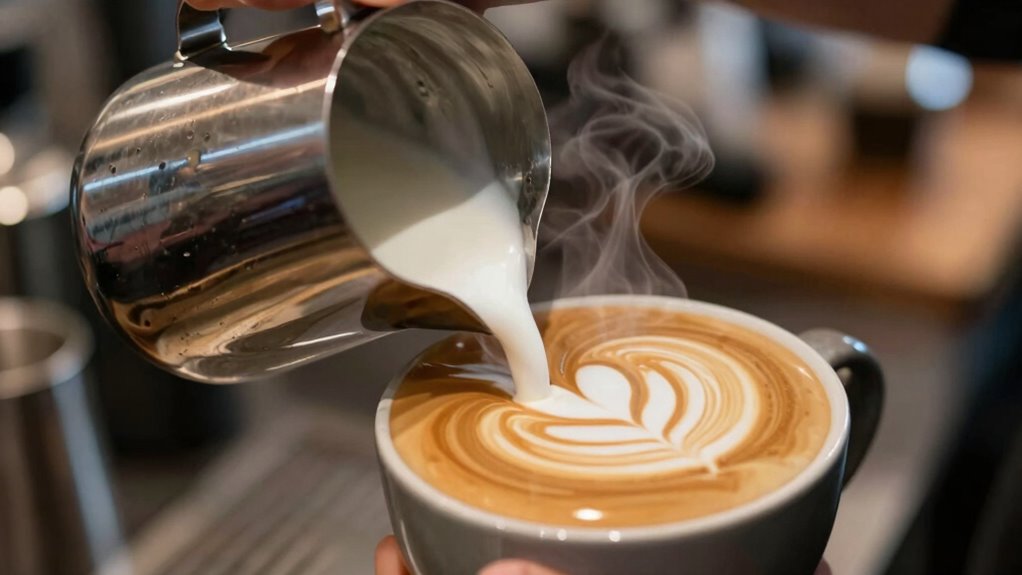
- Pour the milk: Begin by pouring from a height to create a base, then lower the pitcher as you pour into the center.
- Shape the heart: As you near the end, wiggle your wrist slightly to form the heart shape, finishing with a quick lift of the pitcher.
With practice, you’ll pour perfect hearts that impress everyone!
Common Mistakes When Learning Latte Art
Many beginners make a handful of common mistakes when learning latte art that can hinder their progress. One frequent issue is not paying attention to milk temperature; overheating can ruin the milk texture. Also, using the wrong cup size can affect your latte design—too small or large can throw off your proportions. A poor pouring angle can lead to uneven patterns, while inconsistent foam density makes it hard to create those beautiful shapes. Additionally, using the wrong espresso grind can impact flavor and texture, complicating your process. Finally, don’t rush through practice patterns; consistency is key. Focus on these aspects, and you’ll find your skills improving substantially as you refine your technique.
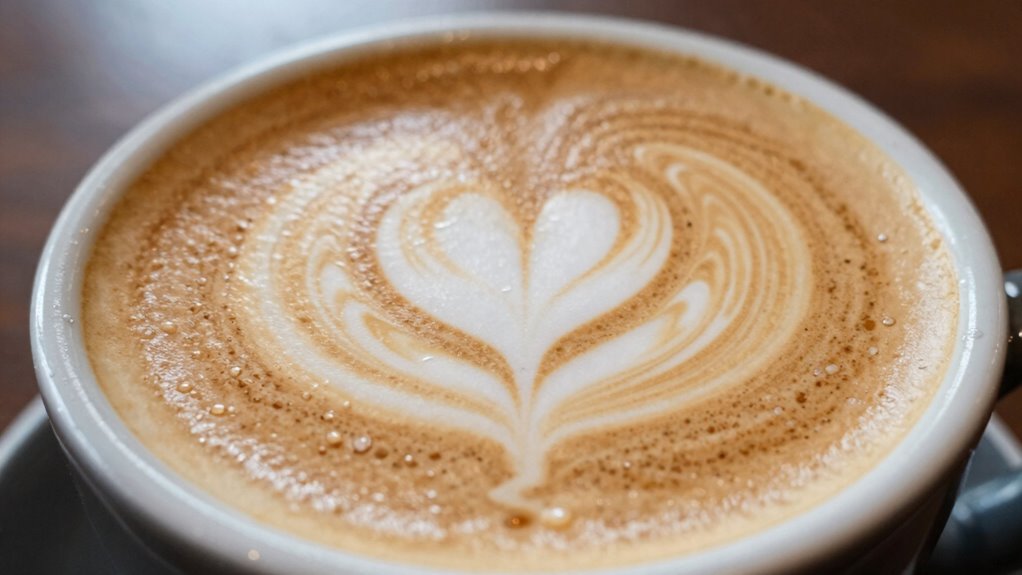
Troubleshooting Your Heart Design
To troubleshoot your heart design, start by evaluating your milk frothing technique. Here are some key troubleshooting tips:
- Milk Temperature: Verify your milk is between 150°F and 155°F. Too hot or too cold affects pour consistency.
- Cup Selection: Use a wider cup for better surface area, allowing for clearer designs.
- Pressure Control: Adjust your pour pressure; too fast can cause splashes, while too slow may lead to sinking of the design.
Keep these common errors in mind and refer to visual guides to refine your approach. Making small design adjustments can drastically improve your results. Practice consistently, and you’ll soon create beautiful heart designs with ease!
Key Techniques for Better Pouring Skills
Mastering your pouring skills is essential for creating stunning latte art, as even small adjustments can greatly impact your designs. Focus on these key techniques to enhance your pouring:
| Technique | Description |
|---|---|
| Pouring Speed | Adjust your speed for fluidity. |
| Cup Angle | Tilt the cup to direct the milk. |
| Milk Texture | Guarantee microfoam for best results. |
Practice your wrist movement and pressure control to maintain consistency. A solid practice routine will help you refine these skills, improving your latte presentation. Always consider espresso extraction as it affects the base for your art. By mastering these elements, you’ll elevate your latte art to new heights!
Building on Your Latte Art Skills
As you continue to refine your latte art skills, exploring new techniques and styles can elevate your creations even further. Here are three ways to build on your skills:
- Experiment with Milk Alternatives: Try oat or almond milk for unique textures and flavors, enhancing your latte art’s visual appeal.
- Dive into Advanced Designs: Challenge yourself with intricate patterns that reflect your artistic inspiration, like rosettas or tulips.
- Engage in Community Challenges: Join local or online latte art competitions to boost your creativity and learn from others.
Sharing Your Latte Art Creations Online
Now that you’ve honed your latte art skills, it’s time to share your creations online. Choosing the right platform can help you reach the audience you want, while engaging with them keeps the conversation going. Let’s explore how to showcase your art and connect with fellow coffee lovers!
Choosing the Right Platform
How do you choose the best platform to showcase your latte art creations? Selecting the right platform can enhance your brand presence and foster community engagement. Here are three key factors to evaluate:
- Platform Preferences: Assess which social media platforms align with your visual storytelling style.
- Audience Interaction: Look for platforms that promote user feedback and encourage content sharing among coffee enthusiasts.
- Platform Analytics: Choose platforms that offer analytics to track your engagement and improve your posts.
Engaging With Your Audience
Are you ready to connect with fellow coffee lovers? Sharing your latte art creations online is a fantastic way to engage your audience. Use social sharing platforms to showcase your work and invite audience feedback. Create interactive challenges that encourage others to participate, fostering community engagement. Don’t forget the power of storytelling techniques; share the inspiration behind each design. Highlight user-generated content by reposting creations from your followers, building a sense of collaboration. Consider launching collaborative projects with other artists to expand your reach and spark fresh content inspiration. By actively engaging with your audience, you’ll not only grow your skills but also cultivate a vibrant community of latte art enthusiasts.
Frequently Asked Questions
Can I Use Non-Dairy Milk for Latte Art?
Yes, you can definitely use non-dairy options for latte art! Many baristas find success with oat milk or almond milk, as they froth well and create a creamy texture. When milk frothing, make sure you choose brands that are specifically designed for barista use, as they foam better. Just remember, practice makes perfect, so don’t get discouraged if your first attempts aren’t Instagram-worthy. Keep experimenting, and you’ll master that heart shape in no time!
How Long Does It Take to Master Latte Art?
It typically takes several weeks to master latte art, but the timeline varies for everyone. To speed up your progress, focus on key latte art techniques like pouring and frothing. Set aside time each day for practice; consistency is essential. Experiment with different types of milk and cups to find what works best. Remember, every attempt is a step closer to your goal, so don’t get discouraged! Enjoy the journey!
Is Latte Art Only for Baristas?
No, latte art isn’t just for baristas! Anyone can create beautiful designs with the right tools and practice. Start with essential latte art tools like a milk frother and a quality pitcher. Mastering milk frothing is key to achieving that velvety texture needed for designs. With some patience and creativity, you can impress friends and family with your homemade lattes, turning every cup into a canvas. So, grab your tools and give it a try!
Can I Practice Latte Art Without an Espresso Machine?
Sure, you can practice latte art without an espresso machine! Picture a cow frolicking in a field, dreaming of its creamy milk becoming art. With alternative techniques like using a French press or a handheld frother, you can froth milk to your heart’s content. Just grab some strong coffee, and let your imagination run wild. Who needs an espresso machine when you’ve got creativity and frothy milk on your side?
What Should I Do With Failed Latte Art Attempts?
You should embrace your failed latte art attempts as valuable learning experiences. Instead of getting frustrated, analyze the failed techniques and identify what went wrong. Artistic patience is key—practice consistently, and don’t be afraid to experiment! You can also share your attempts with friends or on social media for feedback. Remember, every great artist faced setbacks, so keep refining your skills, and soon you’ll create beautiful designs!
Conclusion
Now that you’ve got the basics down, it’s time to let your creativity flow like a rich espresso shot. With practice, your latte art heart will transform from a simple splash of milk into a masterpiece that warms both the cup and the heart. Remember, every pour is a step on your journey, so don’t be afraid to experiment. Share your creations online and inspire others to join this delightful coffee adventure!